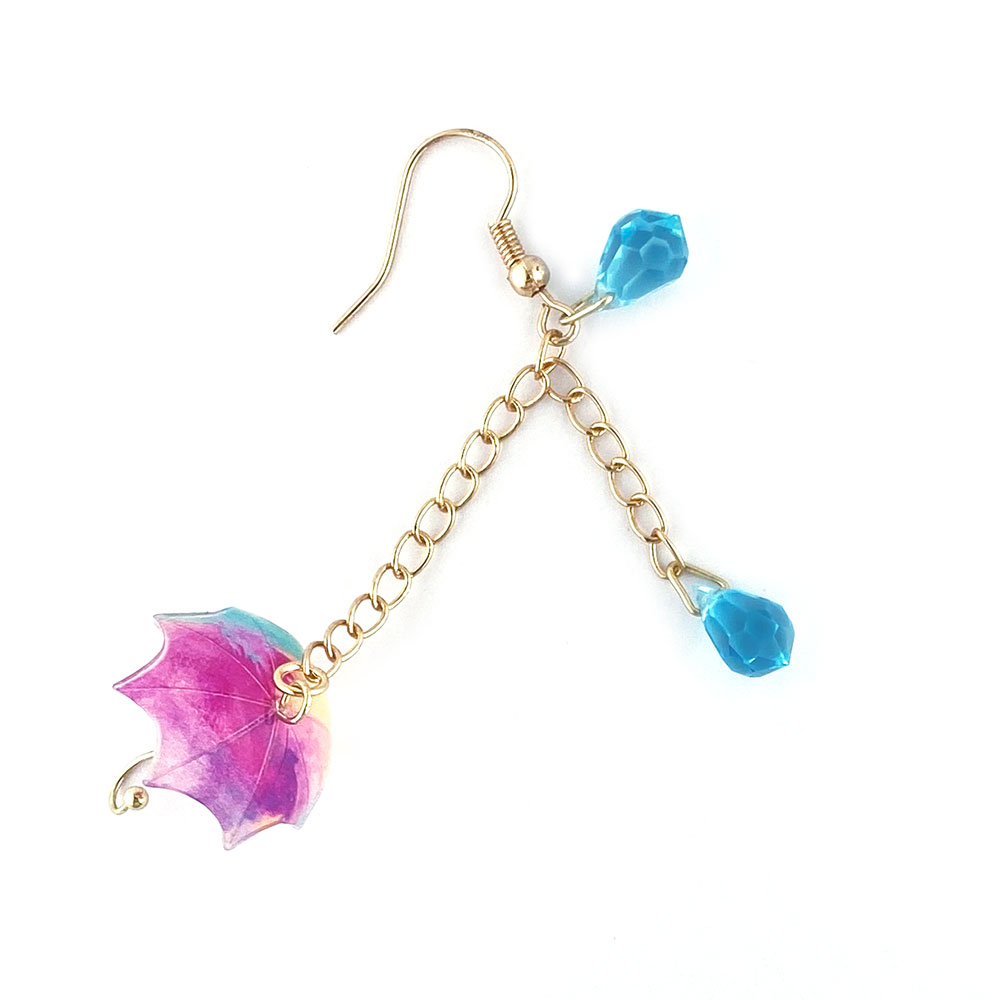
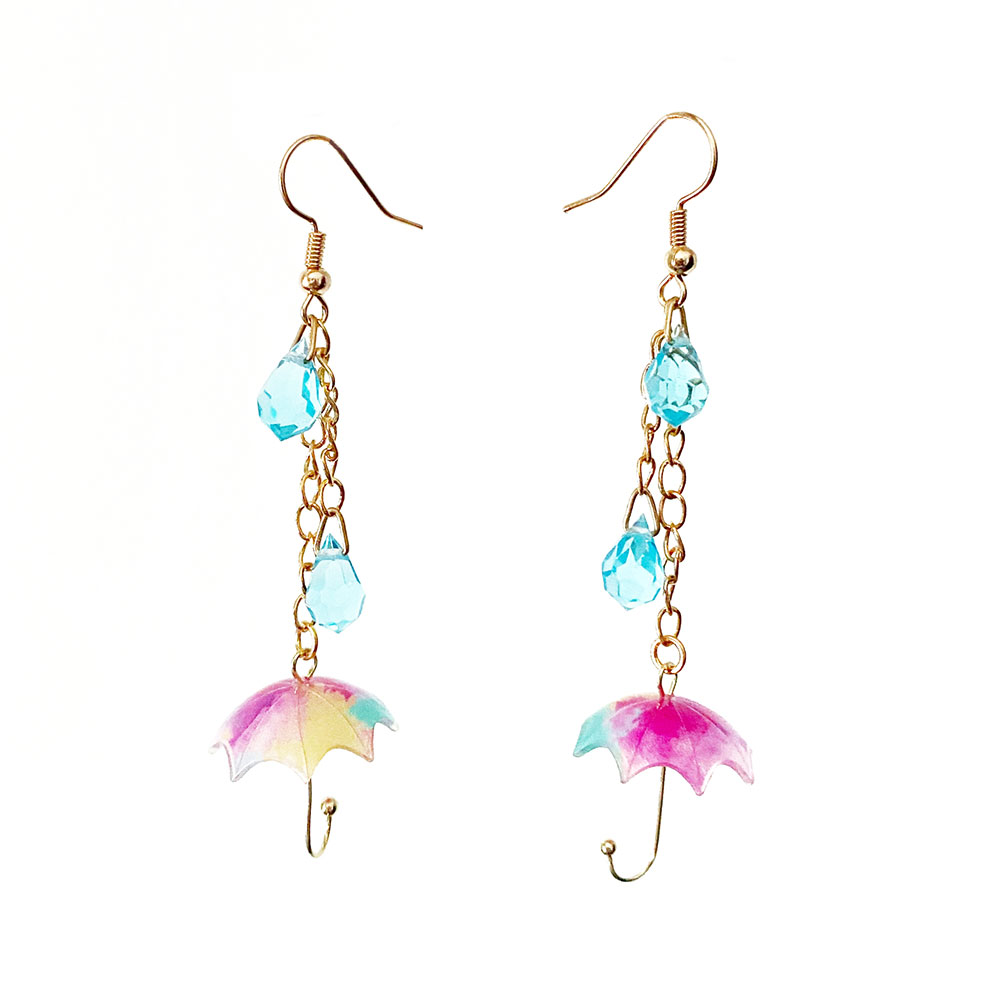
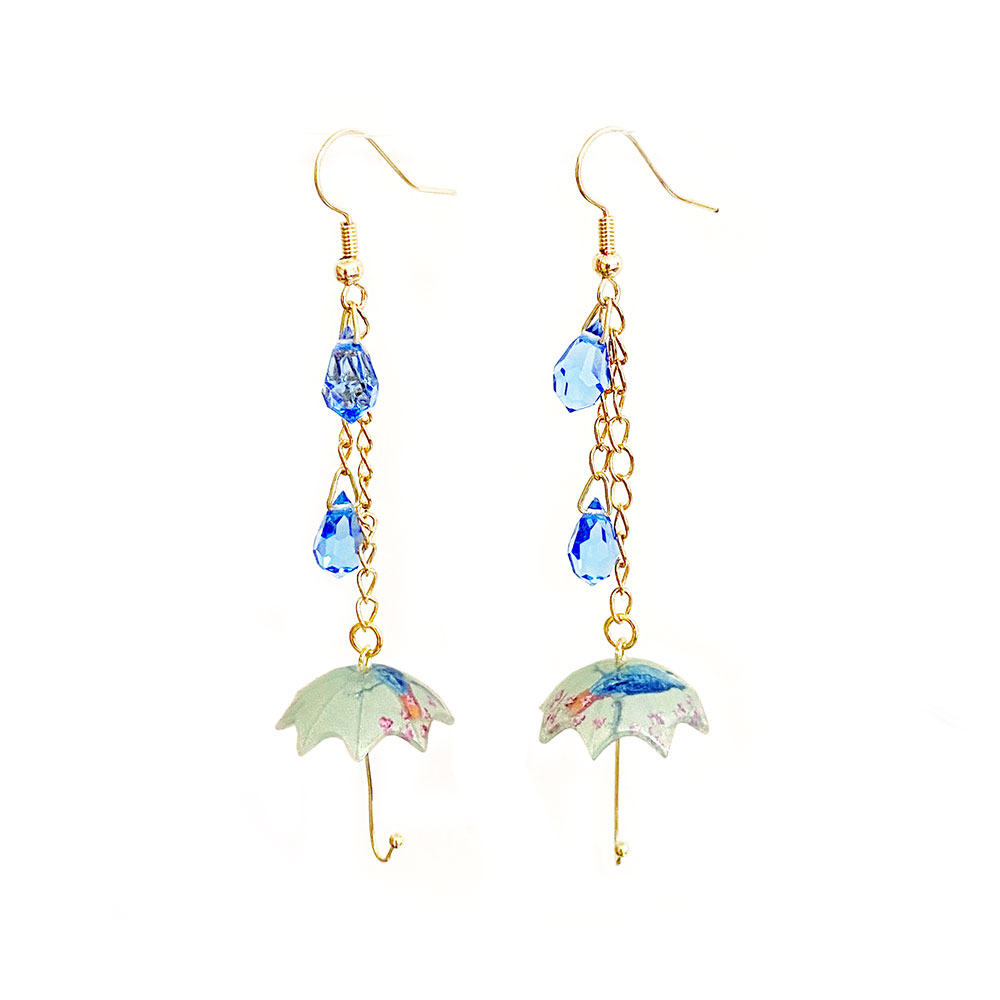
Learn how to create your Rainy Day Earrings using these 3D umbrella pendants. They’re so cute and come in a variety of colours. I’ve picked my favourite Umbrella pendant to create these earrings – they’re surprisingly easy to make!
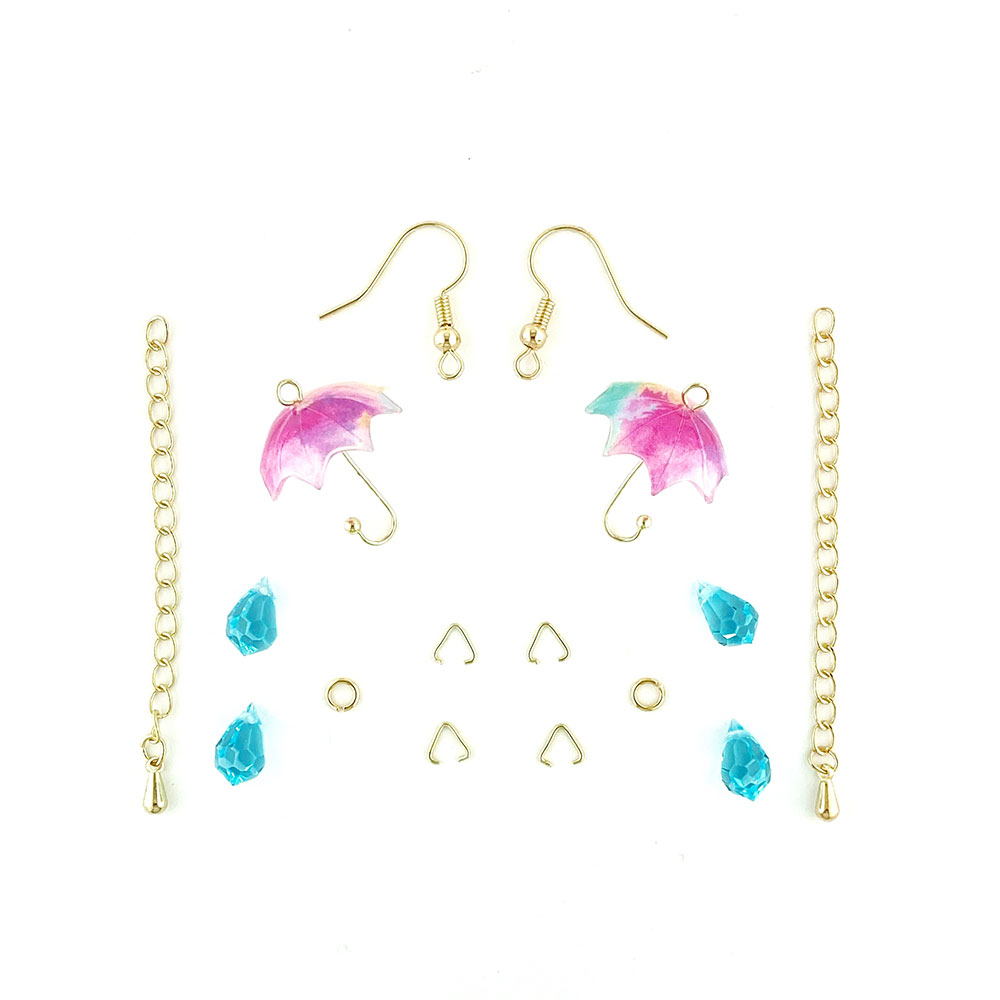
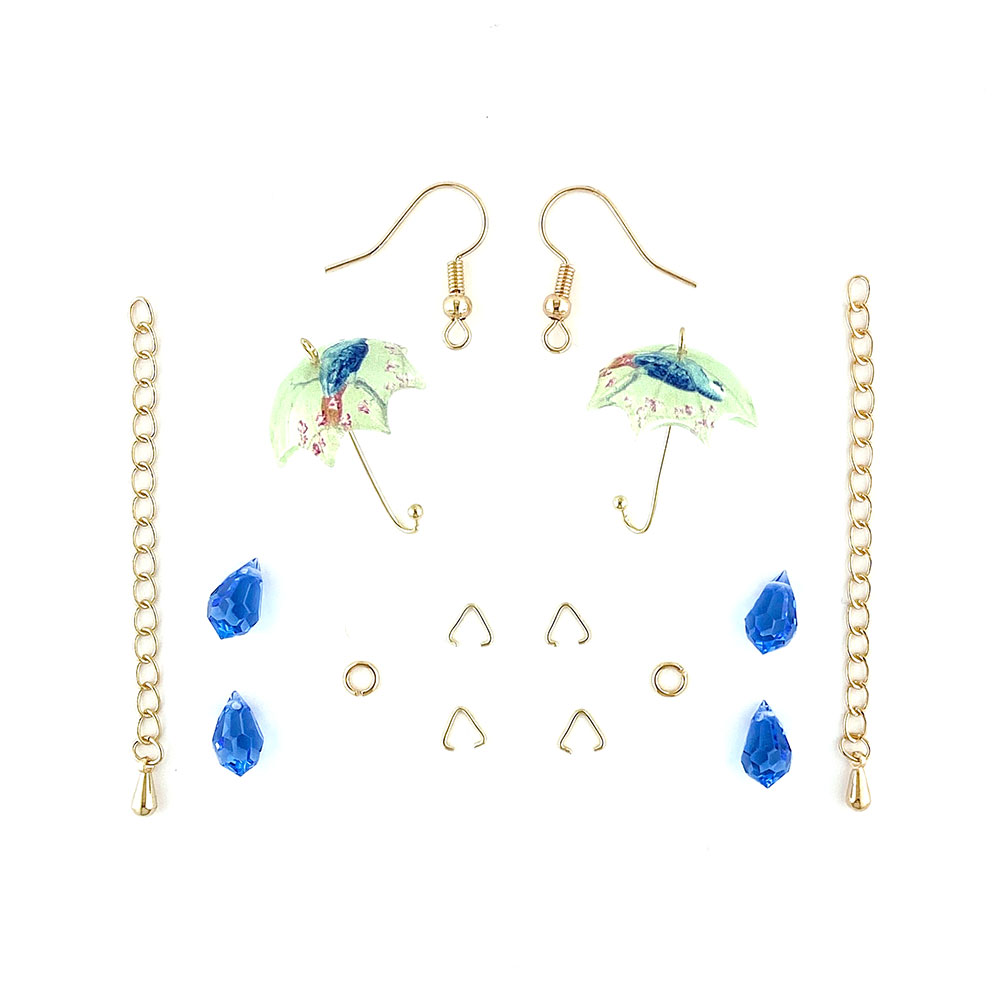
The materials needed;
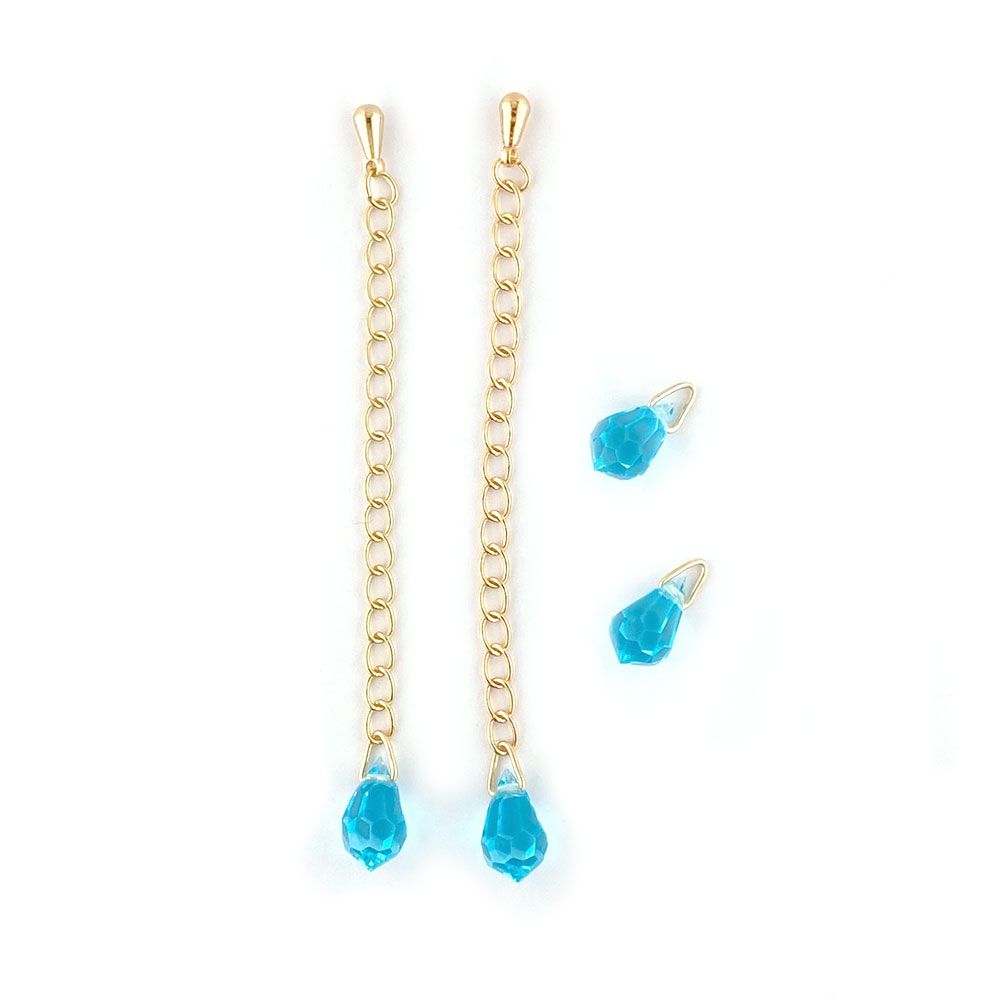
2 x Umbrella Pendants
4 x 6x10mm Preciosa Crystal Drops
2 x Fishhooks Gold Plated
2 x Extension Chains Gold Plated
4 x Triangular Clamps Gold Plated
2 x 4mm jump Rings Gold Plated
To make things easier we have made material packs available for either of the colour ways featured below, which will save you a lot of time (both colour options are available on the same page).
-
 Rainy Day Earrings – Materials PackRegular Price £9.50 incl.VAT
Tools Needed;
2 x Chain nose or flat nose Pliers. My preference is a pair each of Chain Nose and Bent Chain nose pliers.
Bead Mat (this is very useful but not essential, a piece of fabric or tea towel will also work)
Making the Earrings
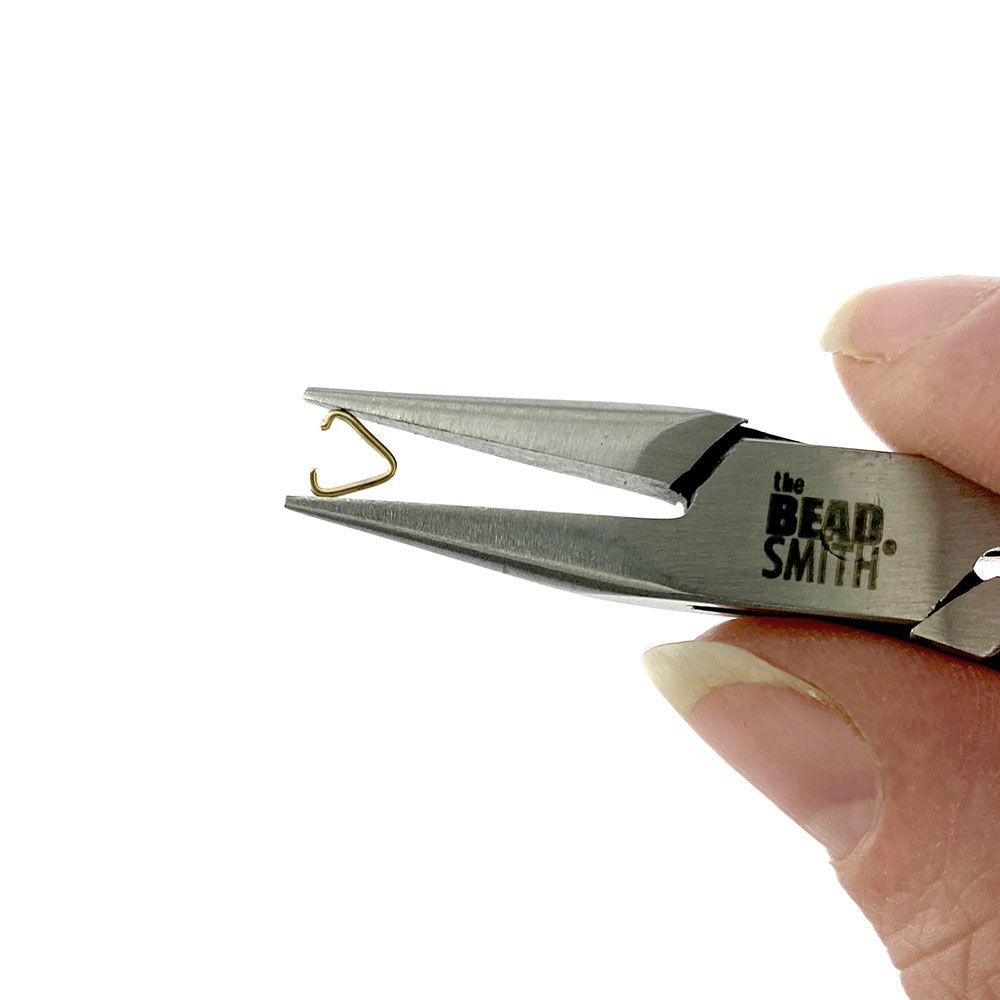
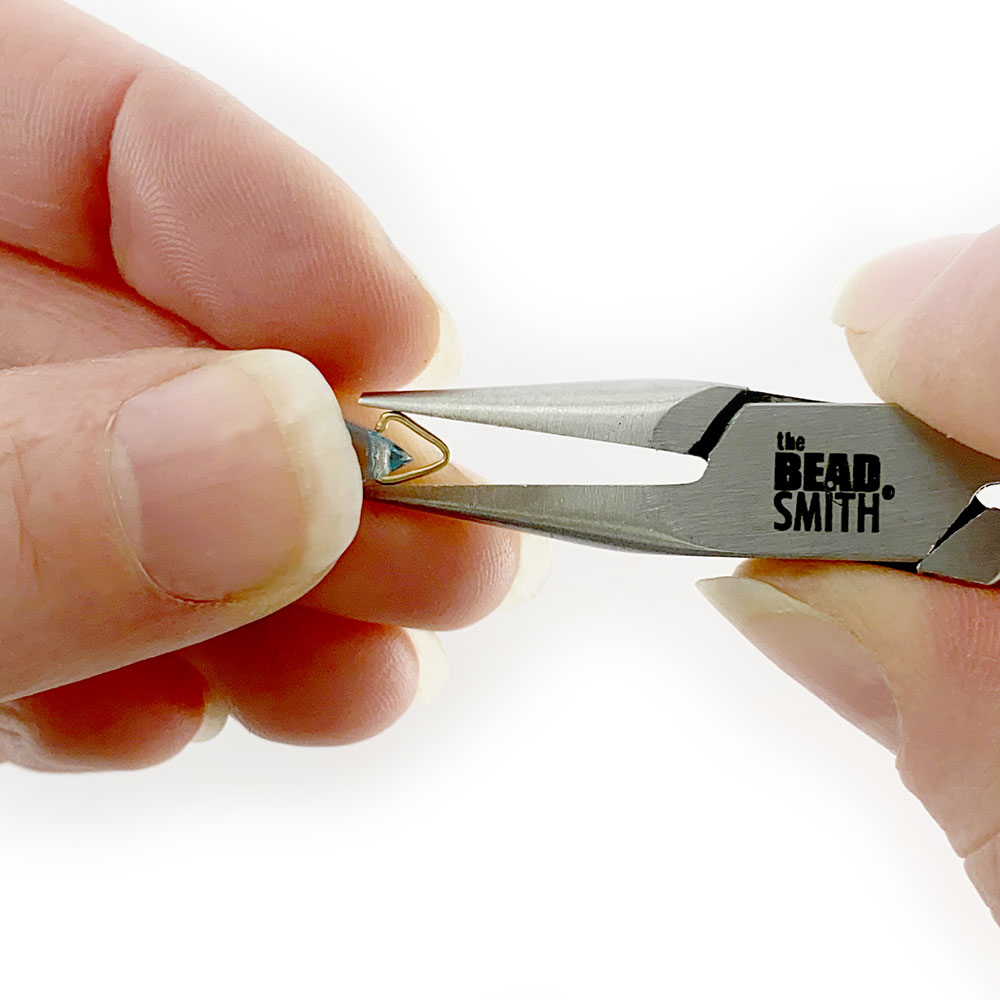
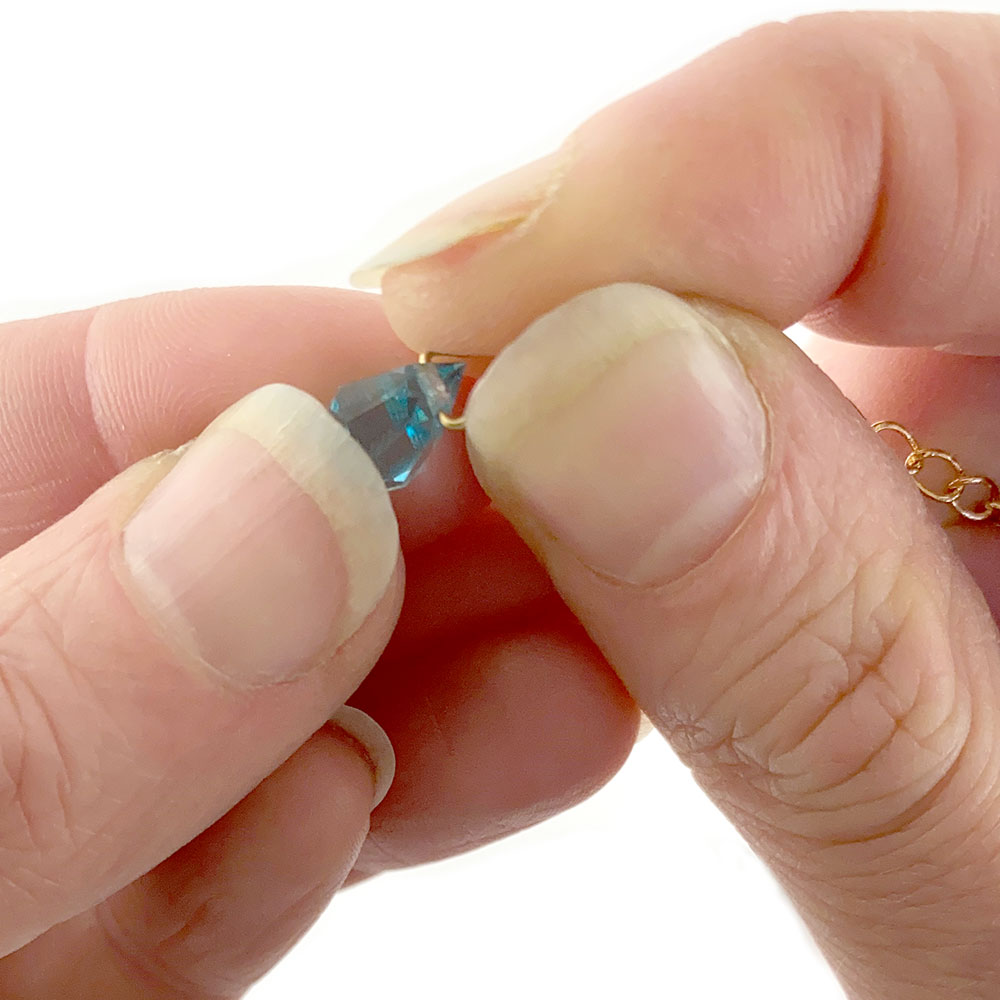
The first thing I did was attach triangular clamps to 2 of the drop pendants. As both items are very small and a little fiddly, I found this quite tricky to do with just my fingers, though it is possible. However I picked up the triangular clamp in the jaws of my pliers with my dominant hand (quite close to the tip). I held the drop in my none dominant hand and gently placed one side of the triangular clamp in the pendant hole. Then lined up the opposite side to gently squeeze it closed over the top of the pendant. It is really important to not apply any excess pressure, it can be easy to chip or break the pendant if you’re not really careful. Repeat this for another pendant.
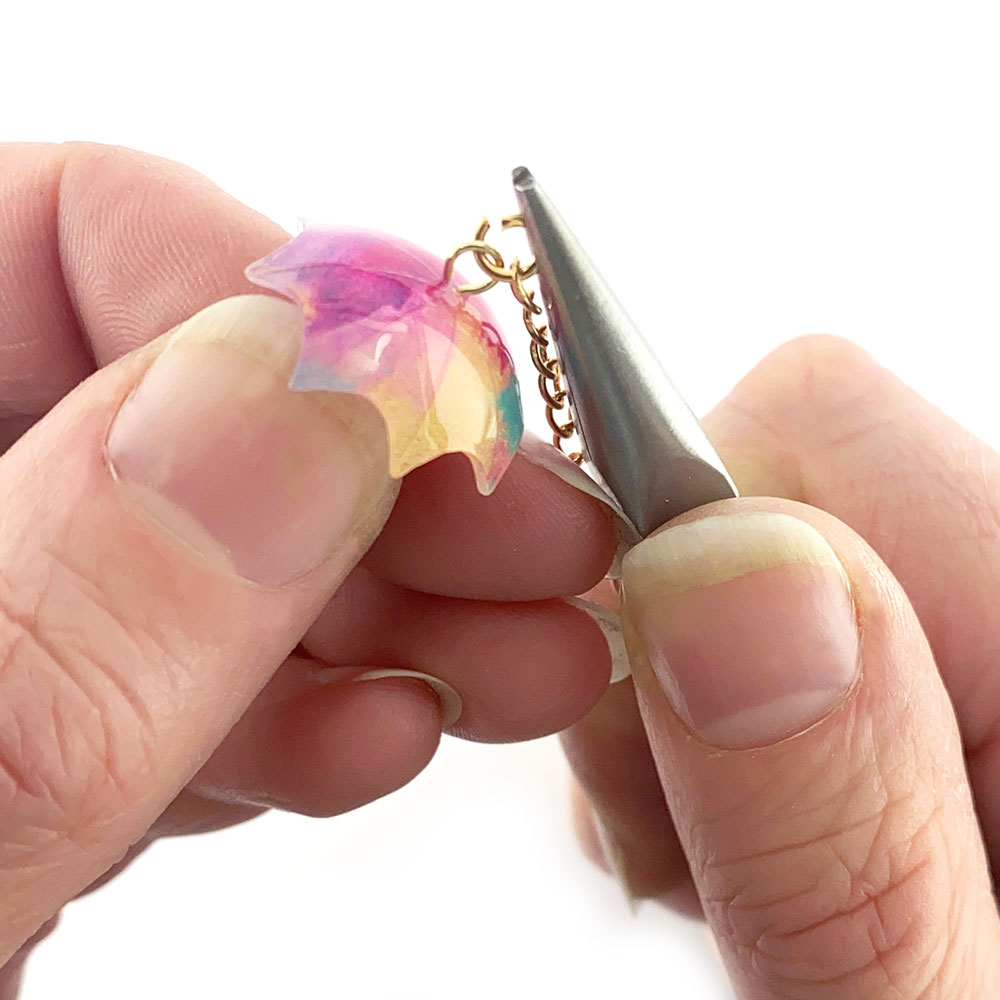
Now two pendants have triangular clamps attached, repeat this for the remaining two pendants, but this time you are also going to add the last link of the extension chain inside the triangular clamp before attaching it to the pendant.
Using extension chains is really handy as they are already pre-cut small lengths of chain, perfect this project (as well as extending necklaces or bracelets). However it does mean that that have a decorative metal dropper that isn’t needed for the project, so first of all remove these from both chains (twist open the small jump ring). Save them as they might come in handy for another project.
Assembling the earrings
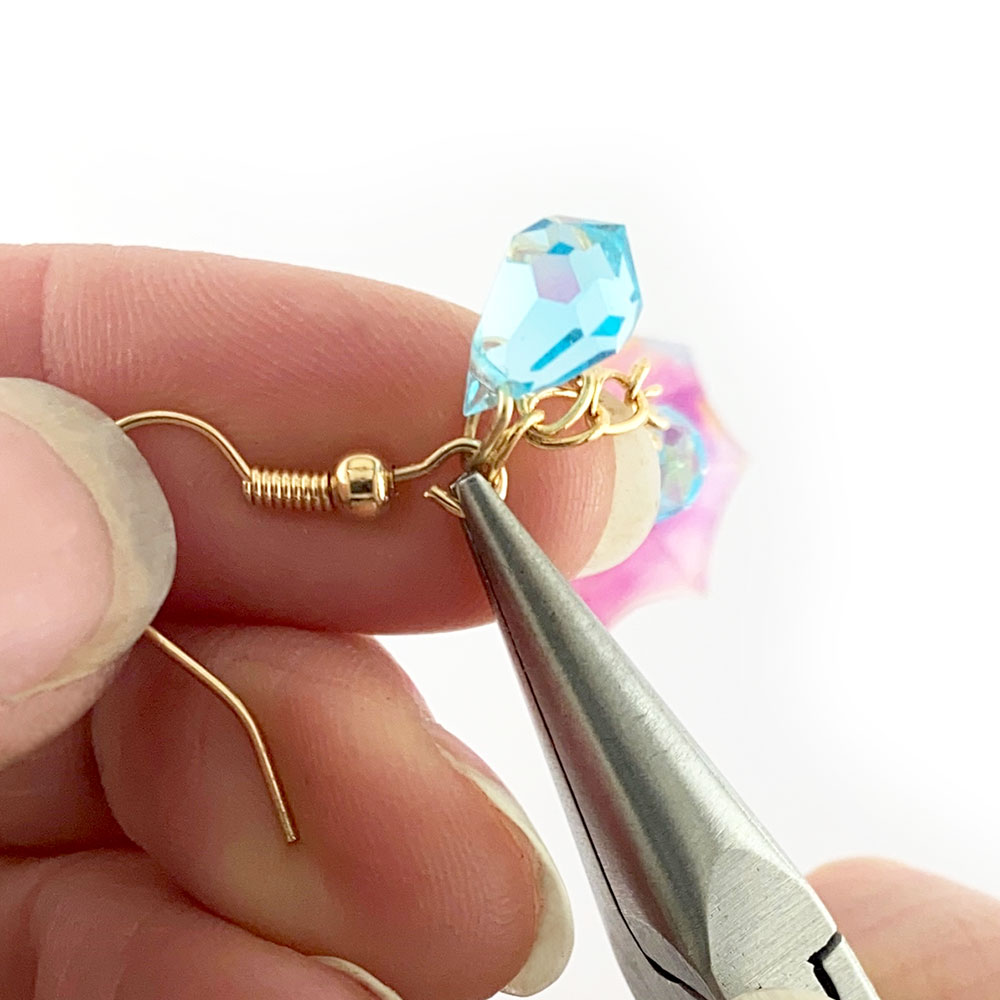
First of all using a 4mm jump ring attach the umbrella to the opposite end of the extension chain. If you need help opening and closing your jump rings, I’ve shared our helpful video below. Next twist open the loop on the fishhook and add in the single drop pendant, then add in a link roughly a 3rd of the way along the chain from the drop pendant end and twist closed (depending whether your fishhook opens at the front or back, you might have to add the chain first then the drop). Repeat this for the second earring and you have completed your pair of earrings.
Tip – Adapting your earrings
You can easily adapt your earrings making them longer or shorter. You can do this by changing the length of the exist chain by connecting through a different link in the chain. Or simply cut your chain shorter. You could also have asymmetric earrings with one long and one short.
How to open and close a jump ring:
How to attach a fishhook:
We hope you’ve enjoyed our free project – Learn how to create your Rainy Day Earrings.
Happy Jewellery Making!