When we took delivery of our 20mm wooden beads a few weeks ago it sparked an idea. Which I shared with our newsletter readers recently;
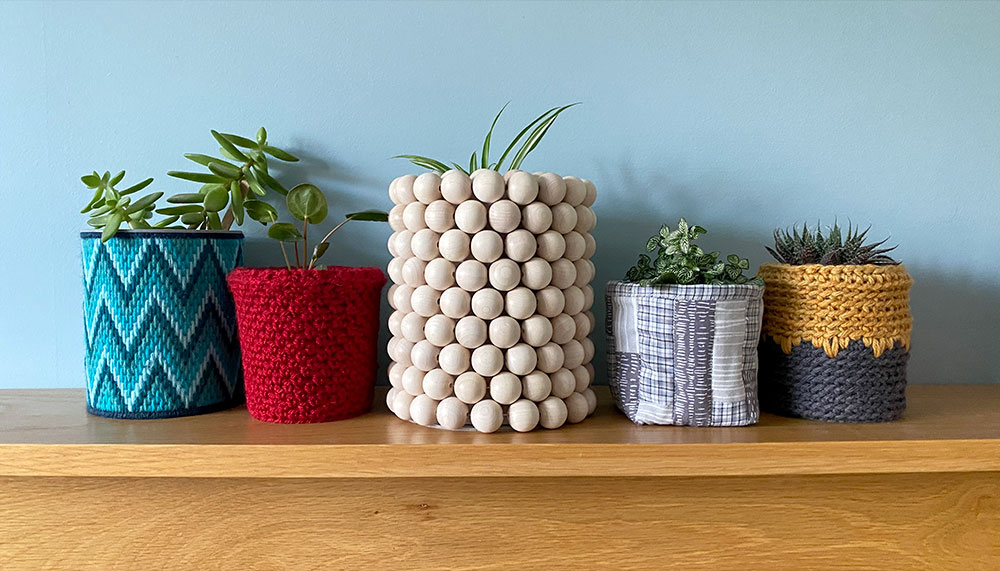
I love the look of chunky beads incorporated into home decorations. I have a lot of plants at home, but I’ve found that nice plant pots are getting increasingly more expensive. So I’ve got quite creative with some of my pots. It started during lockdown as a fun project and not wanting to order breakables online. I’ve created patchwork fabric covers for yogurt pots. Revamped old pots with peeling paint with a knitted cover and crocheted covers for tin cans. I liked the idea of utilising items that’d just be chucked in the recycling/thrown away and giving it a new purpose. So I decided to make a beaded cover – but super-sized!
I asked our readers whether they’d like a more in depth project to make your own upcycled bead covered pots and several of you replied yes! So here is it, the wonderful thing about this design is it’s very easy to make… I feel a bit like I’ve cheated as there’s not a lot of beading either!!
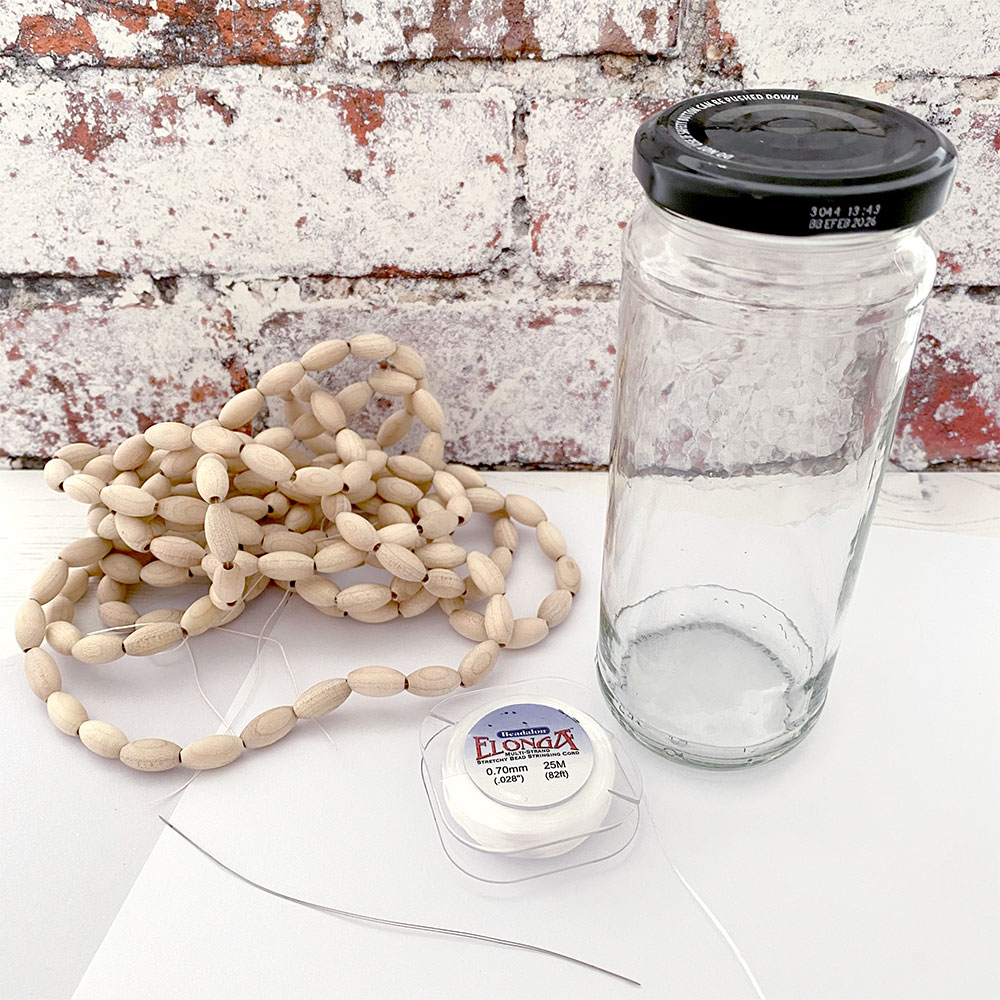
What you need:
A jar or pot that you want to cover (tip – Straight pots are easier to cover)
Your choice of chunky beads
Elonga elastic
Big Eye needle
Thin card for support (might not be needed, it’ll depend on the shape of your jar/pot)
Thick card to create a base
How I made it
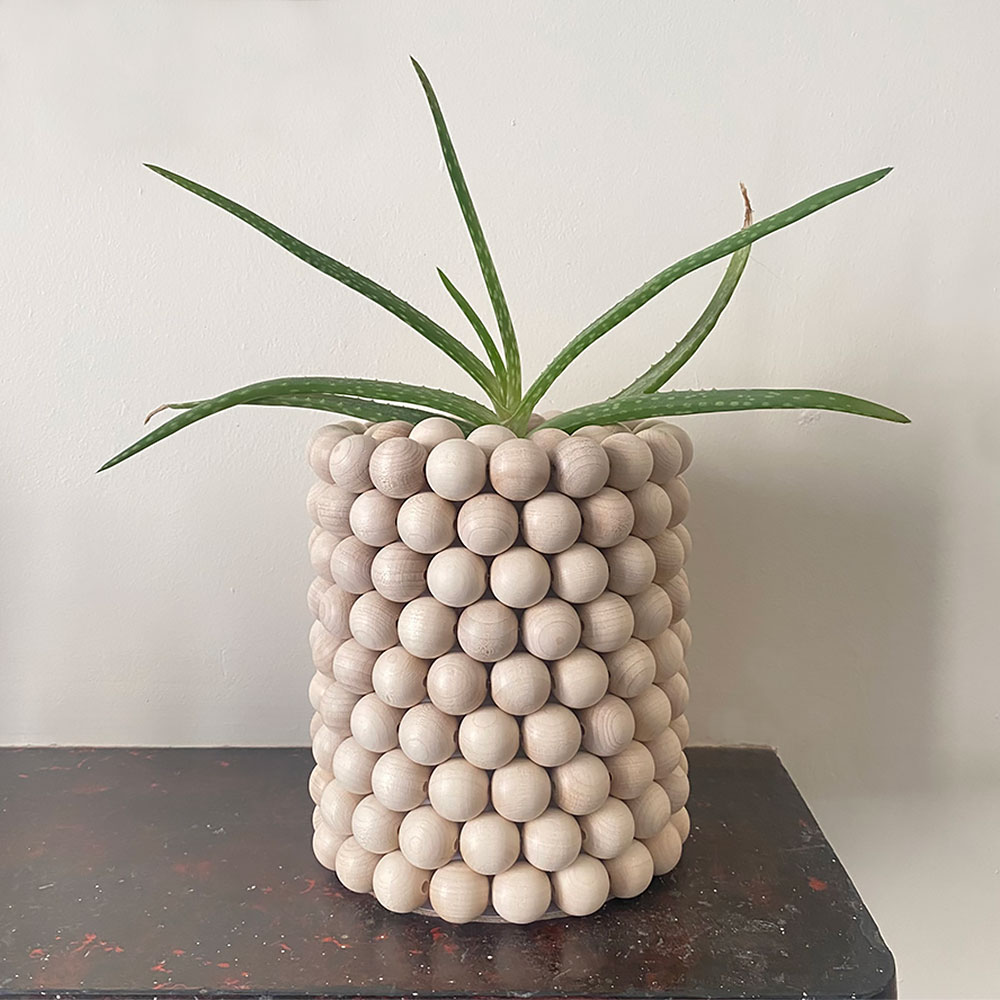
I rescued a large jar from the recycling, it’s a M&S 200g fairtrade coffee jar (Robin gets through quite a bit). As I already knew which beads I wanted to use I simply strung several beads on to my elastic using the big eye needle. Then wrapped the strand around the jar and kept checking whether they reached around. Once I got to 19 beads it fitted perfectly. It’s worth noting that you may find you don’t get a perfect fit straight away. It might be that your jar only fits 15.5 beads, which is quite noticeable when working with larger beads. However I would always go up, so in this instance use 16 beads. Then I’d add card to the outside of the jar to help form the size you need. Ideally you don’t want elastic showing between your beads.
Getting a good fit
Once I’d established how many beads are required I simply made loads more elasticated rings of beads to stack together. I used elastic over thread to help keep the tension tight. I used Elonga elastic as it’s easy to knot. This jar had quite a narrow neck and as soon at the shape of it started to taper it became a little tricky. I decided to wrap a piece of card around the jar to help support the beads. I cut the card to extend up past the tapering, almost level with the top of the jar.
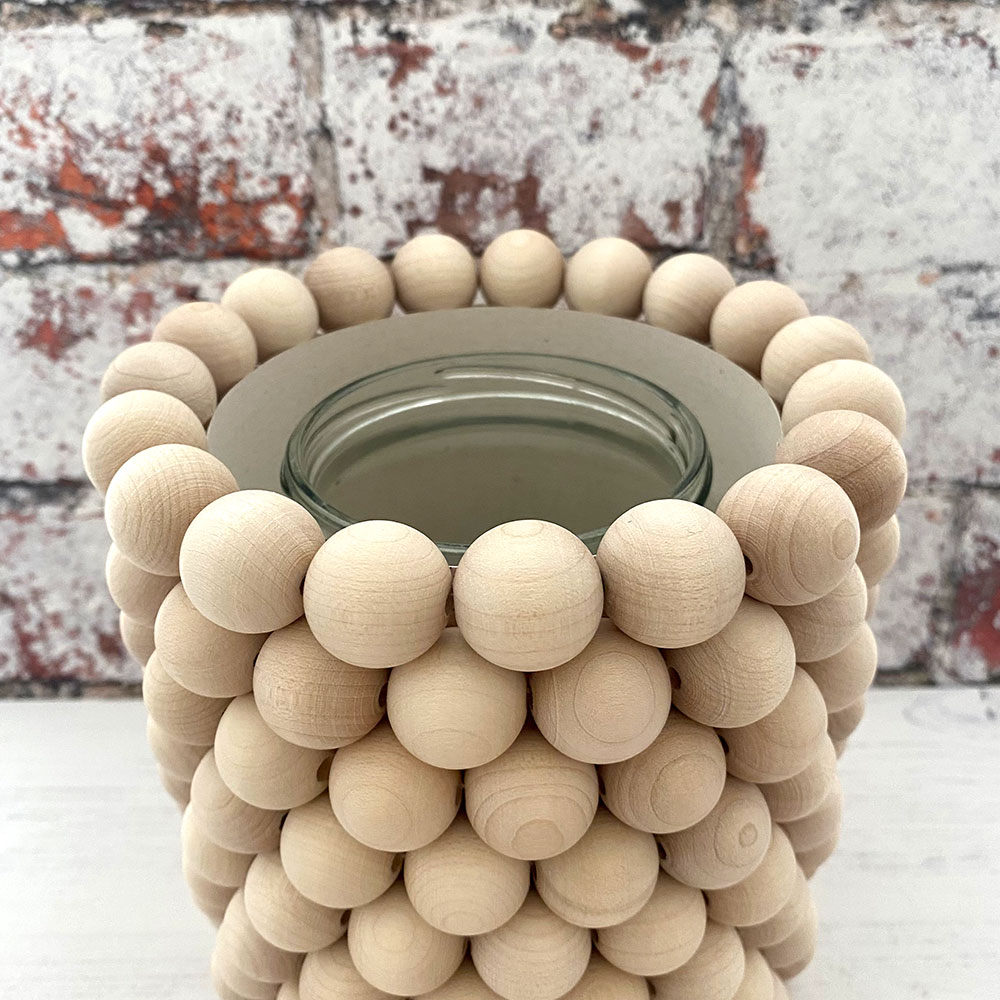
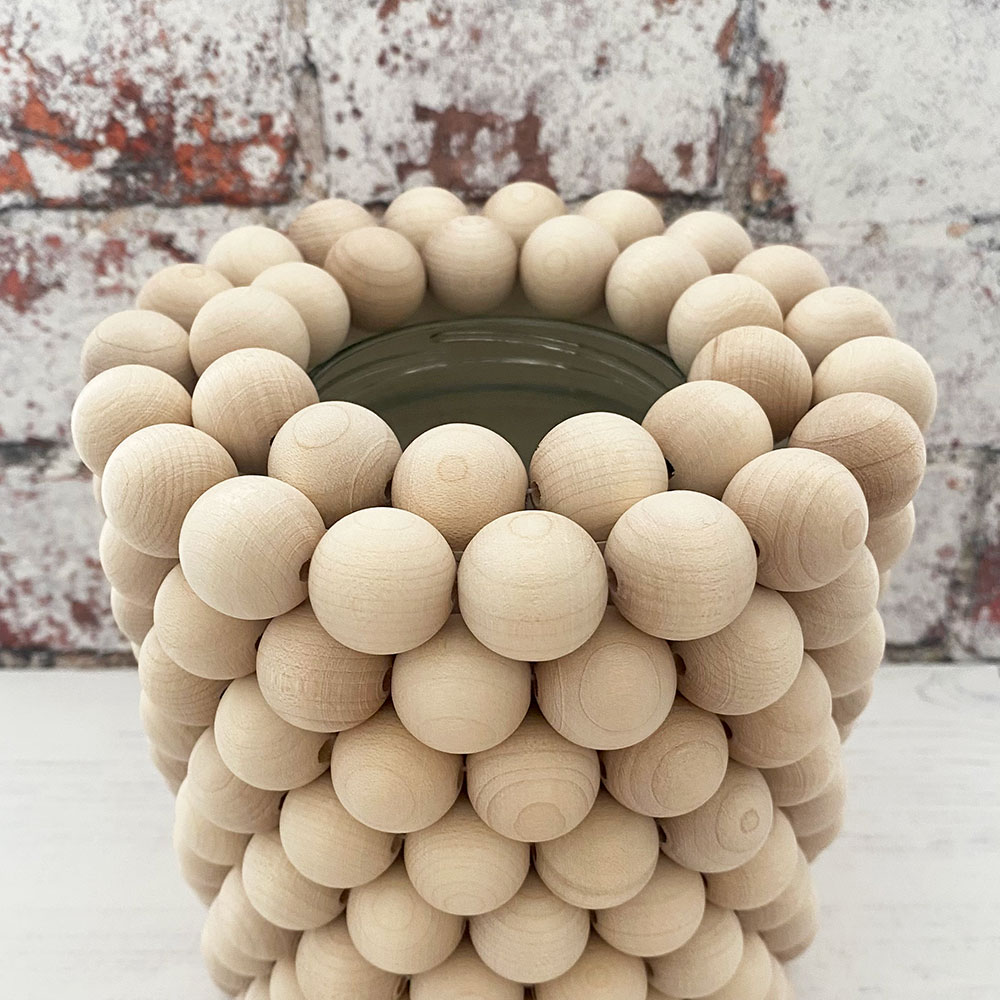
This left a larger gap at the top between the neck of the jar and the last row of beads. I filled this with a smaller ring of beads (13 beads). Again to work this out I strung up the beads and laid them in place to see how many I needed. The finished cover here used 9 rounds of beads (19 x 9 = 171) plus the 13 makes 184 beads in total. To be able to pick up the jar with out all the beads sliding off, I then added a circle of card to the bottom of the jar. The disk was just big enough for the beads to sit on, but not visible. I then formed a ring of blue tack and attached it to the card before firmly pressing the jar centrally down on it. I will admit there’s a little bit of trial and error involved in covering the jar, but it was immensely satisfying and I really like the finished look.
I made a fun YouTube short to show how the jar is assembled. You can watch it here:
Alternatives
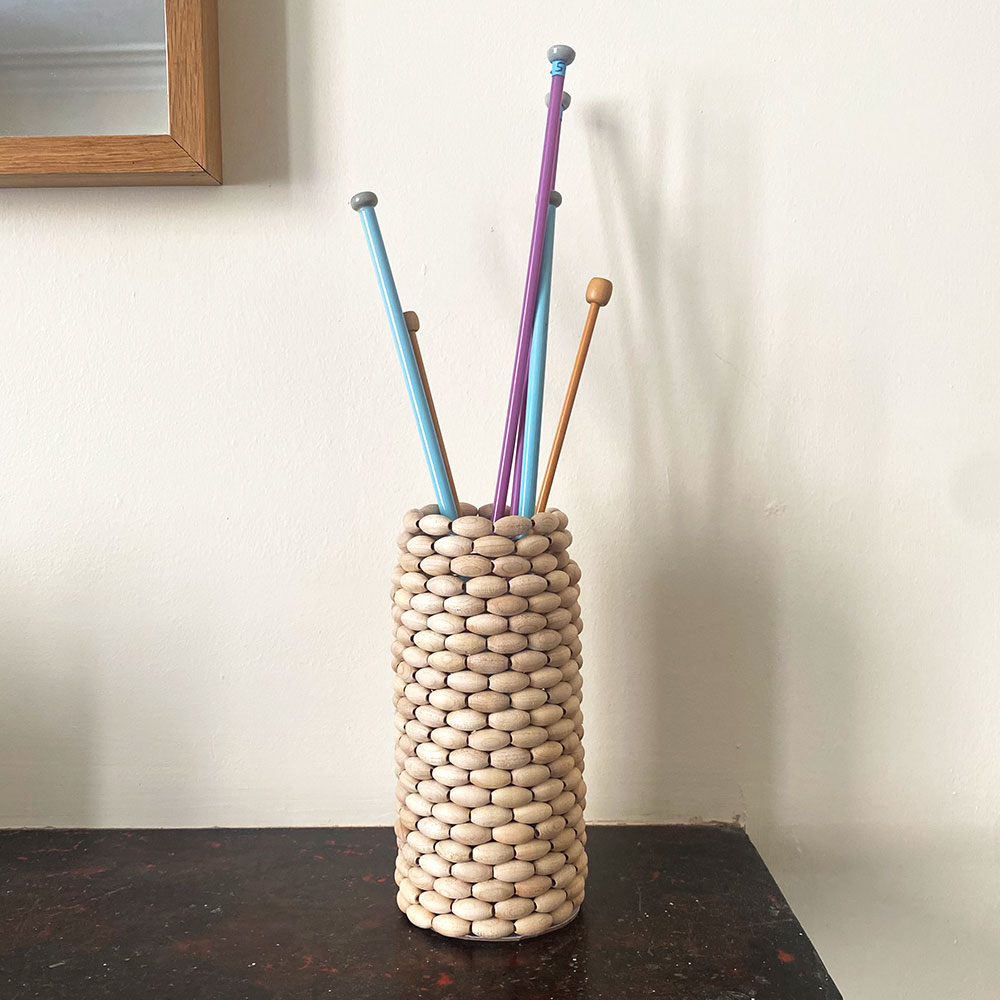
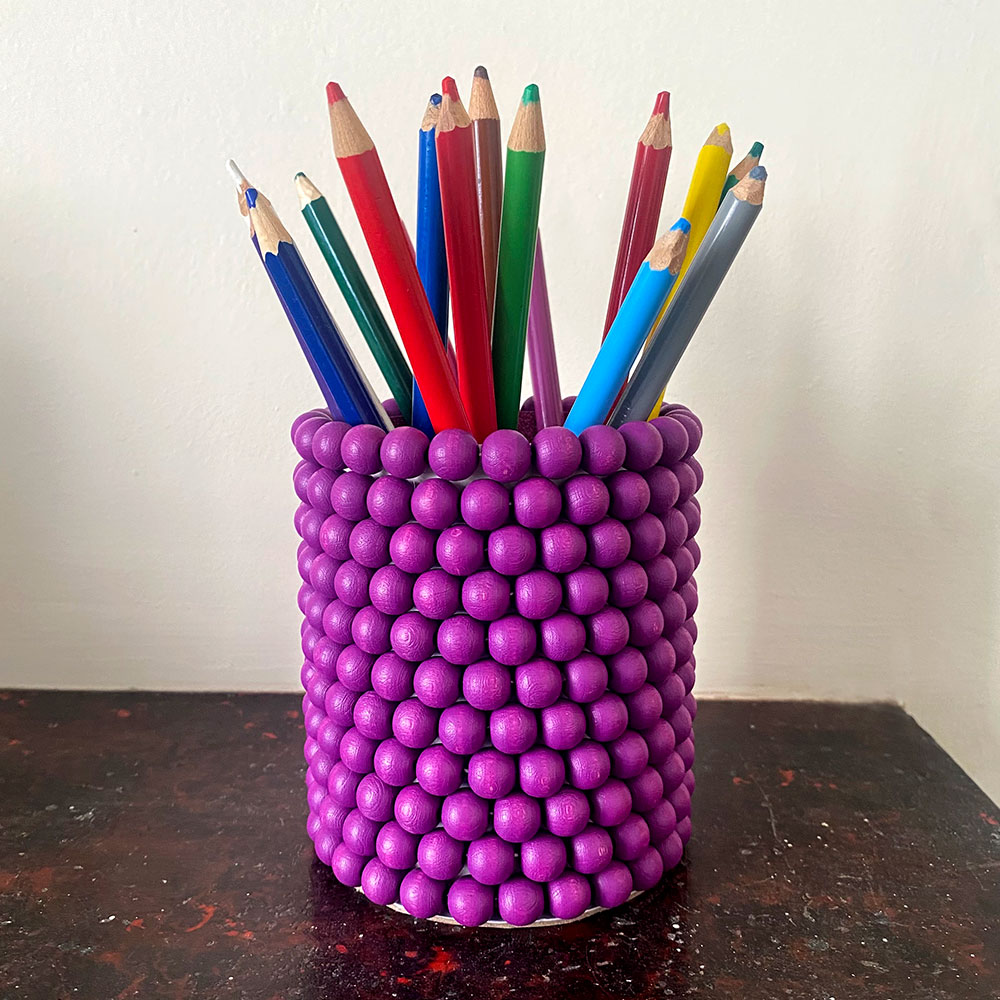
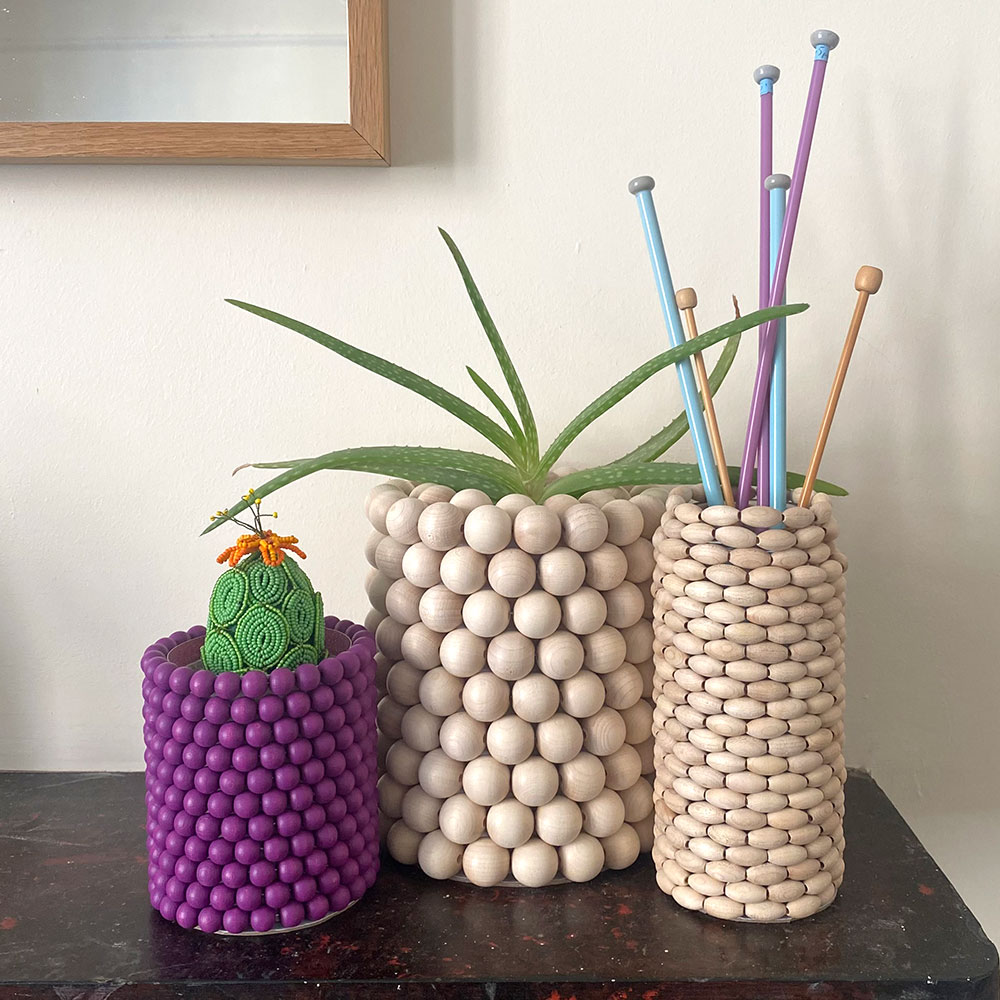
I experimented with a few other options here too. A scratched glass that’s been lurking in the back of the cupboard was the perfect vessel to create the Purple pot. I used 10mm purple wooden beads. I added a piece of glittery pink card wrapped around the glass, making sure the glittery side was visible from inside the glass. For the tall narrow jar cover (which originally had some Tesco’s green Queen olives in), I used our oval wooden beads. I didn’t need the extra cardboard to support the beads as the neck wasn’t too narrow on this jar.
I got thinking about other items you could cover. Empty food tins would be perfect, their straight sides make them much easier to work with too. The glass ramekins from Gü desserts would be great covered in a few rows of beads for a tea light or a succulent.
I’ve used wooden beads here as this was supposed to be a relatively quick make (before I got carried away making 3 examples). However this idea would work well with all sorts of smaller beads, it just wouldn’t be quite so much of a “quick” make.
Making gifts
I have purposely made this project a non-permanent adaption. It’s perfectly fine for me, on display I can pick it up without it coming apart. Equally if I decide I need the jar for something else or I no longer want the pot I can easily dis-mantle and reuse all the materials. However if you are gifting these cute pot you may want to consider a more permanent finish. In which case I would recommend some strategic hot glue gun action. Particularly for the base (which you could also paint if you’re gifting it). Then I would just add subtle glue to the first and last row of beads to help keep everything in place.
I hope this has inspired you to make your own upcycled bead covered pots. If you do, please share your finished makes with us by emailing us photos or sharing them on Facebook or Instagram and tagging us in your post. We always love to see what you make.