Beading on a loom is a great place to start beadwork. It’s how I first played with beads, with a bead loom kit I was given as a child. A familiar story with many I have spoken to in workshops too. I thought it would be useful to collect together all our resources to help anyone else starting out beading on a loom.
Getting Started
Looms come in a variety of styles and shapes. Our most popular is the Beadalon Jewel Loom, which is also available with a zip up pouch, its perfect for making simple bracelets. The LoomEEZ Japanese bead loom kit is a great option too as it contains everything you need for your first bracelet project. We also have an Endless loom which allows you to make longer wrap style bracelets and elasticated bracelets and a great tool if you really get into loom beading.

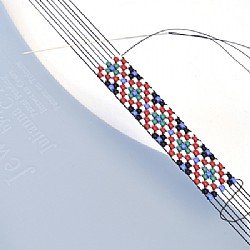
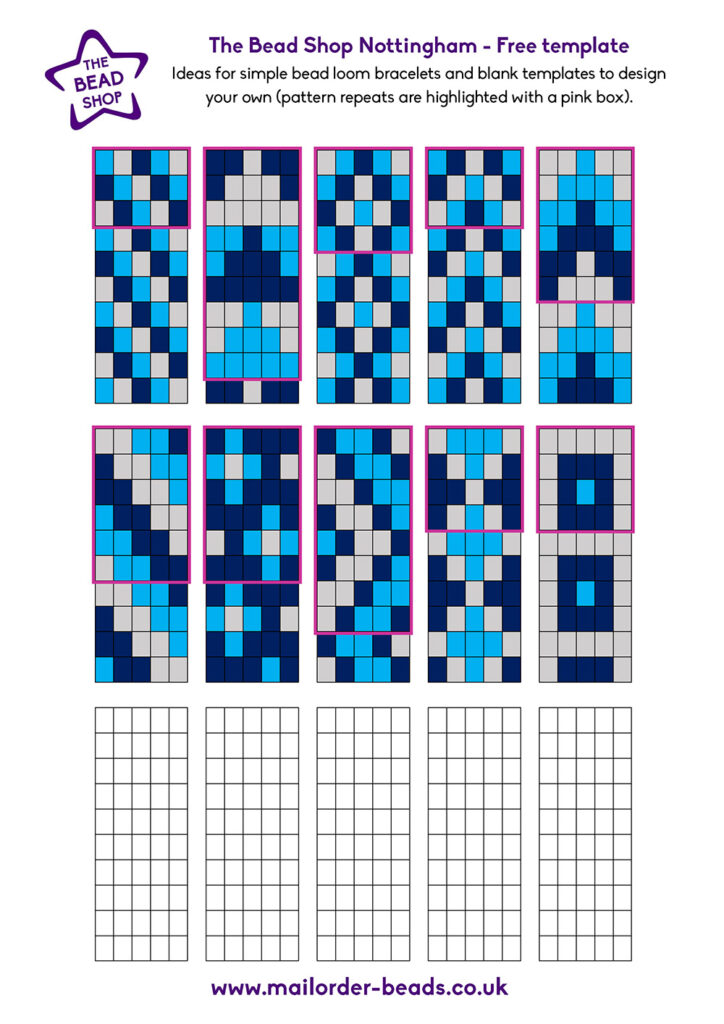
Seed Beads are great to start with. Size 8 aren’t too small or too large for your first project. They are the size we use on our bead loom workshop. Having at least 5 beads in a row is easy to start with, you can create simple symmetrical designs (like diamond or triangles) or plain stripes. Here are some great simple repeating pattern you can create with 5 bead rows. I’ve put together a downloadable PDF with several designs to try and some blank templates to create your own.
Setting up
We have a great Video tutorial here for setting up a jewel loom. The warp threads are the long (vertical) one that form the base of your work. The weft threads (horizontal) are how the beads are woven in. The warp thread need to be a non-stretching thread like Wildfire. Weft thread I try to match the colour to the beads and often use Nymo thread.
You always need 1 more warp thread than beads there are in each row. This is because each bead sit between 2 warp threads. So a design with 5 beads in each row, like the examples above, would need 6 warp threads.
The Beadalon video that Hana mention in this tutorial can also be viewed here.
Getting into designing
If like me, you enjoy doodling designs with paper and pencils graph paper works brilliantly for bead loom patterns. If you prefer to design on a computer and don’t have any fancy software a spreadsheet works well. Just make your columns and row narrow and fill each square with your desired colour. It’s very easy to play around with different ideas quickly and copy and paste repeating patterns.
Tips
Using a needle long enough for get through a whole row of your design at once will make weaving much easier. If your design is quite wide you may find a longer Jewel Loom Needle handy.
You might find working on the loom fiddly begin with (like most new techniques while we get used to them). You’ll find working left to right more comfortable, or vice versa. You can add rows working towards you or away from you – try out each way to find out what is most comfortable.
Slide clasps can make finishing your bead loom bracelets much neater and easier. They hide all those loose ends of thread.
There’s no wrong or right way, there’s just what works for you!
I hope you’ve found this blog post helpful. You can share your finished creating with us on social media using #TheBeadShopNottingham