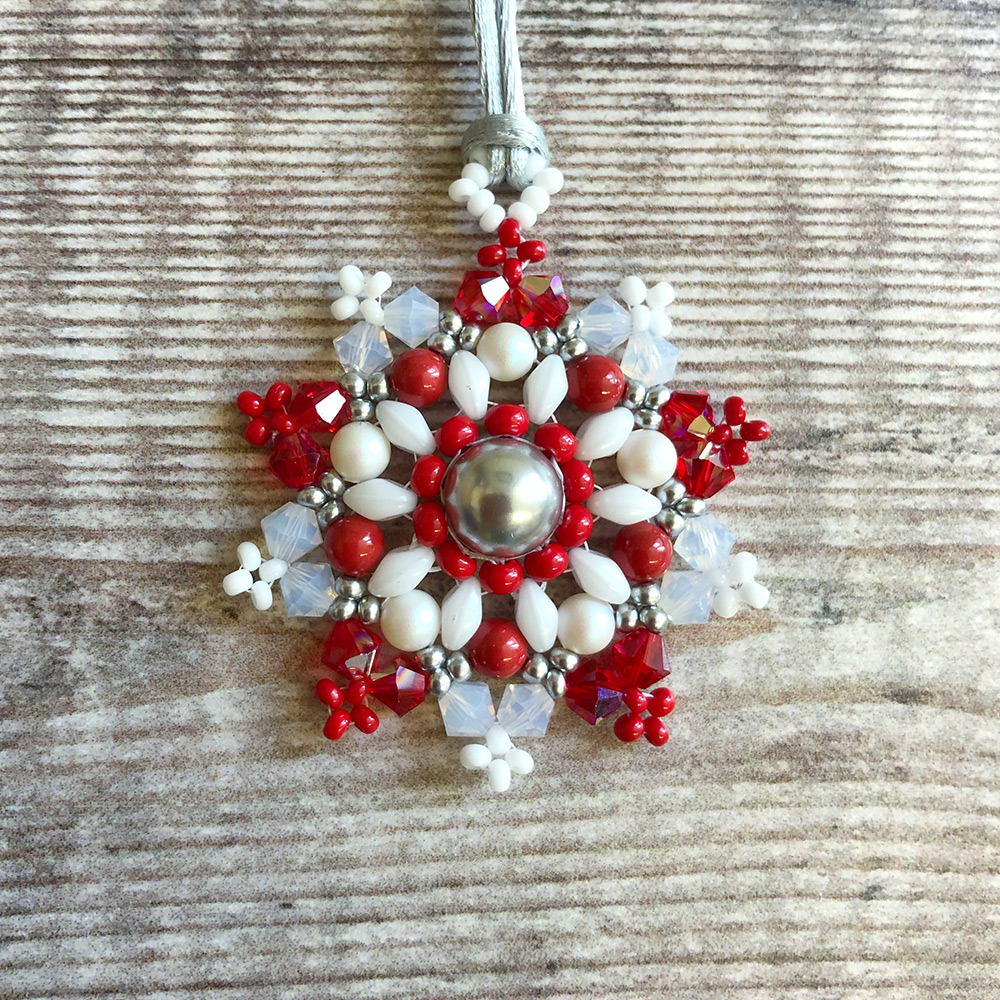
I’ve had my eye on the mandala pendant kit for a while but I always thought it looked too tricky. Though I am generally a crafty and creative person, I do lots of paper craft, polymer clay and digital art. I am a bit of a newbie when it comes to beading (aside from a mountain of bead lizards I’ve made over the years). After minimal beading experience I’ve braved this one and was surprised by how easy I found it, but not surprised by how much fun this was to make! I did have a few minor hiccups but they were all easily resolved.
I wanted to adapt this pattern to make a festive star Mandala decoration. Our tree at home is decorated with red, white and silver, which reminds me of Christmas candy canes. I chose these colours for the mandala pendant so it would match perfectly! You could try a classic Christmas theme of red, gold and green, or a scheme that matched your own decorations.
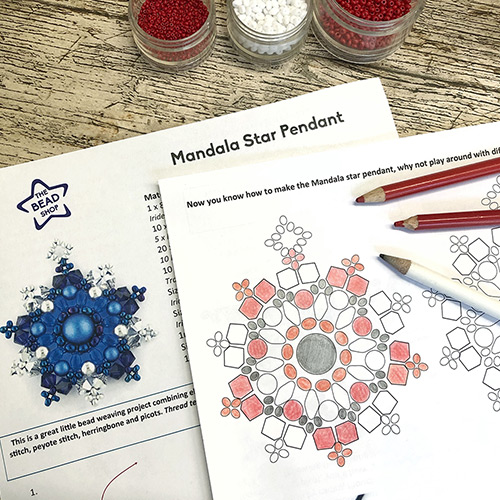
I really enjoyed making this kit, it really is perfect for beginners as it introduces you to a variety of different beading stitches. Steph has even included the names of each of these techniques, which is super helpful! One thing I love about the beading projects from The Bead Shop that I’ve tried so far, including this one, is how they are so easy to pick up and put down; perfect for a spot of creativity on cosy winter evenings after work. Unlike certain mediums I use like polymer clay and paint, you don’t have to commit hours at a time or wait for the perfect stopping point. It only took me about 45 minutes to make my decoration, once I selected my colours. And you don’t have to be a crafting guru to give this a go either!
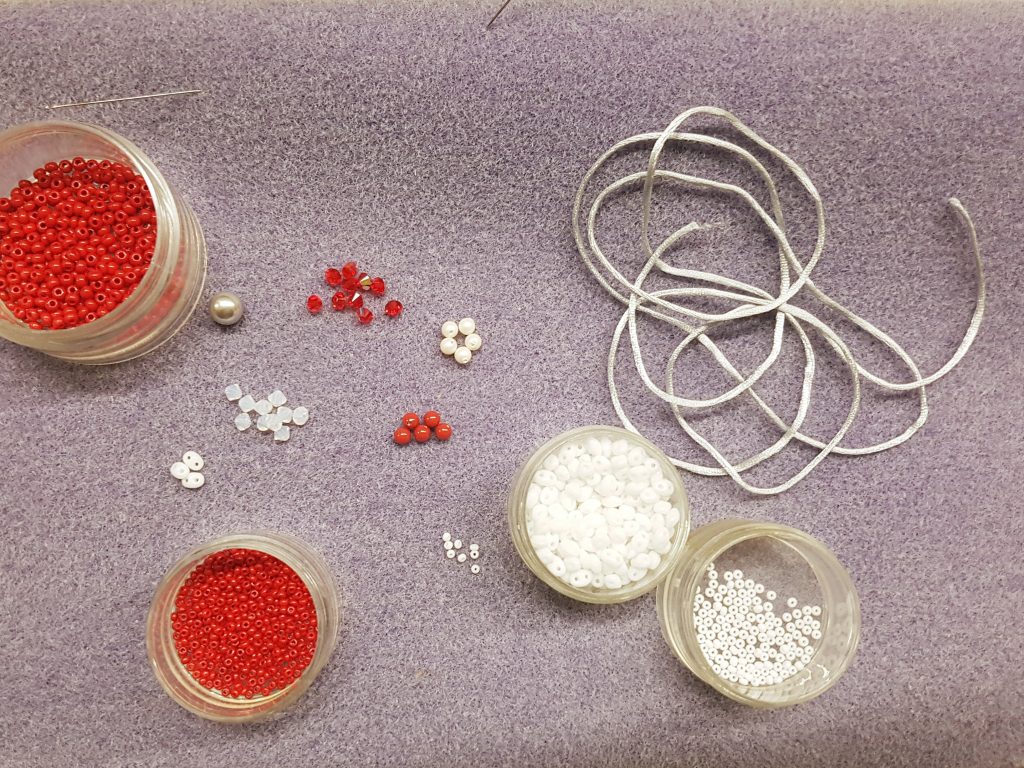
One thing I have learnt is that, when it comes to beading, things can sometimes looks a bit odd until it all comes together. When I was working on the first step of this pattern, it looked really floppy and I was certain I’d done something wrong but by the end of this step it had all come together.
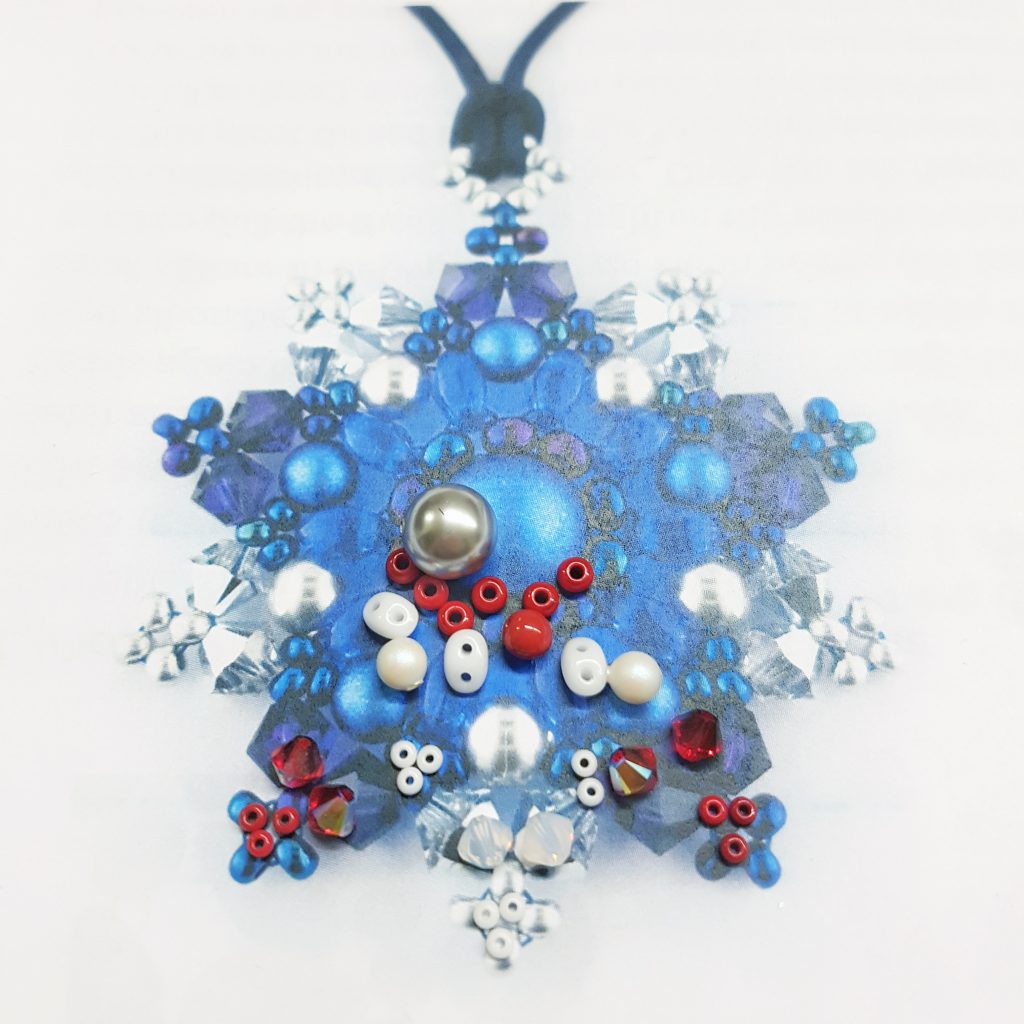
If it does look like somethings gone wrong, a piece of advice I would be; don’t keep pushing on, stop. Don’t be afraid to carefully undo the last steps to a point you last felt things were going smoothly and try again. I did this several times whilst I worked on the mandala star and sometimes it was just that it felt a bit wrong when nothing actually was, but at other times I really had made a mistake. Luckily I was able to rectify these without ruining anything by just pausing, and trying again.
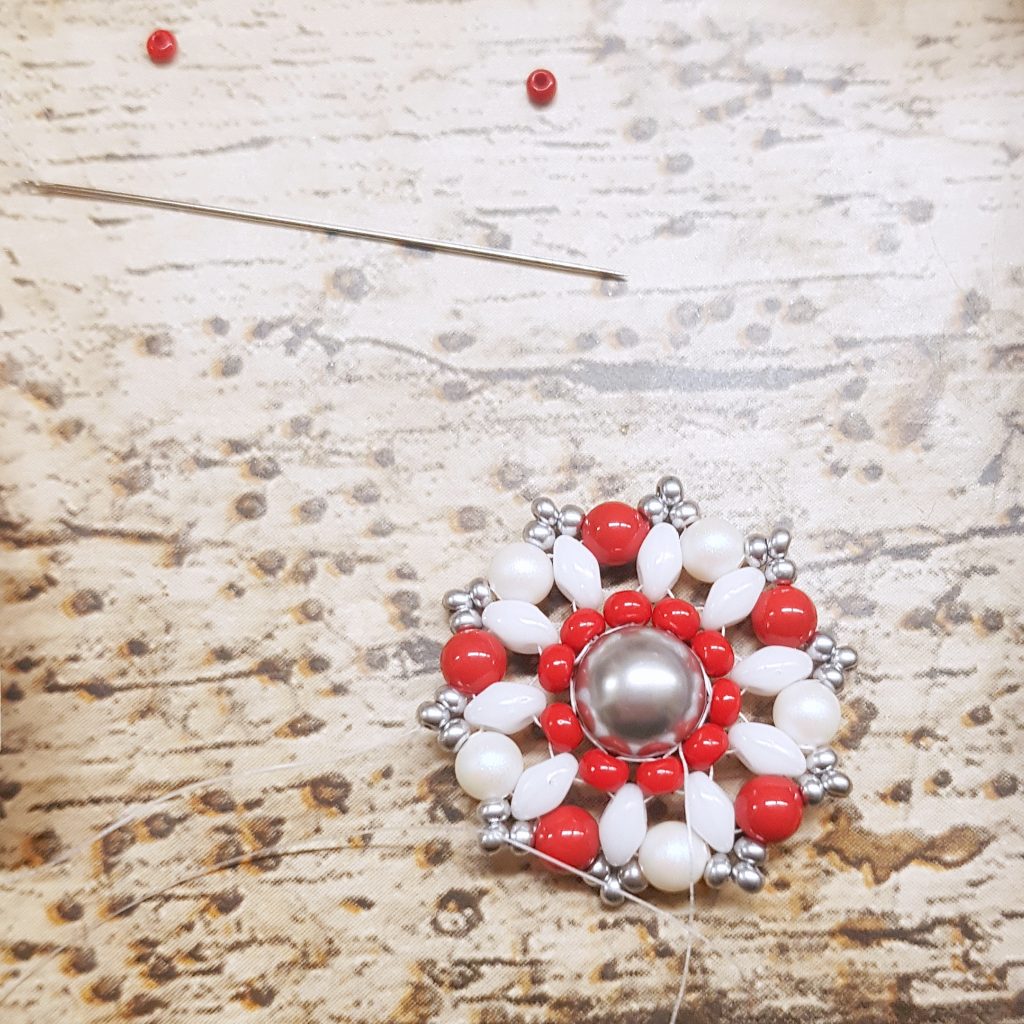
Another good tip would be to read and re read the instructions, breaking things down to avoid and understand little mishaps. Personally, I sometimes find myself skipping ahead or guessing what the instructions will say, which isn’t all that helpful! These beading patterns need to be followed quite precisely so it’s important to follow exactly. I would also say to keep on pulling and tweaking the thread throughout to keep the shape and tension neat. This mandala star is already such an improvement from my (slightly imperfect, a bit floppy) previous attempts at bead weaving.
I honestly felt so pleased and proud with this when I’d finished it and can’t wait to hang it on my tree!
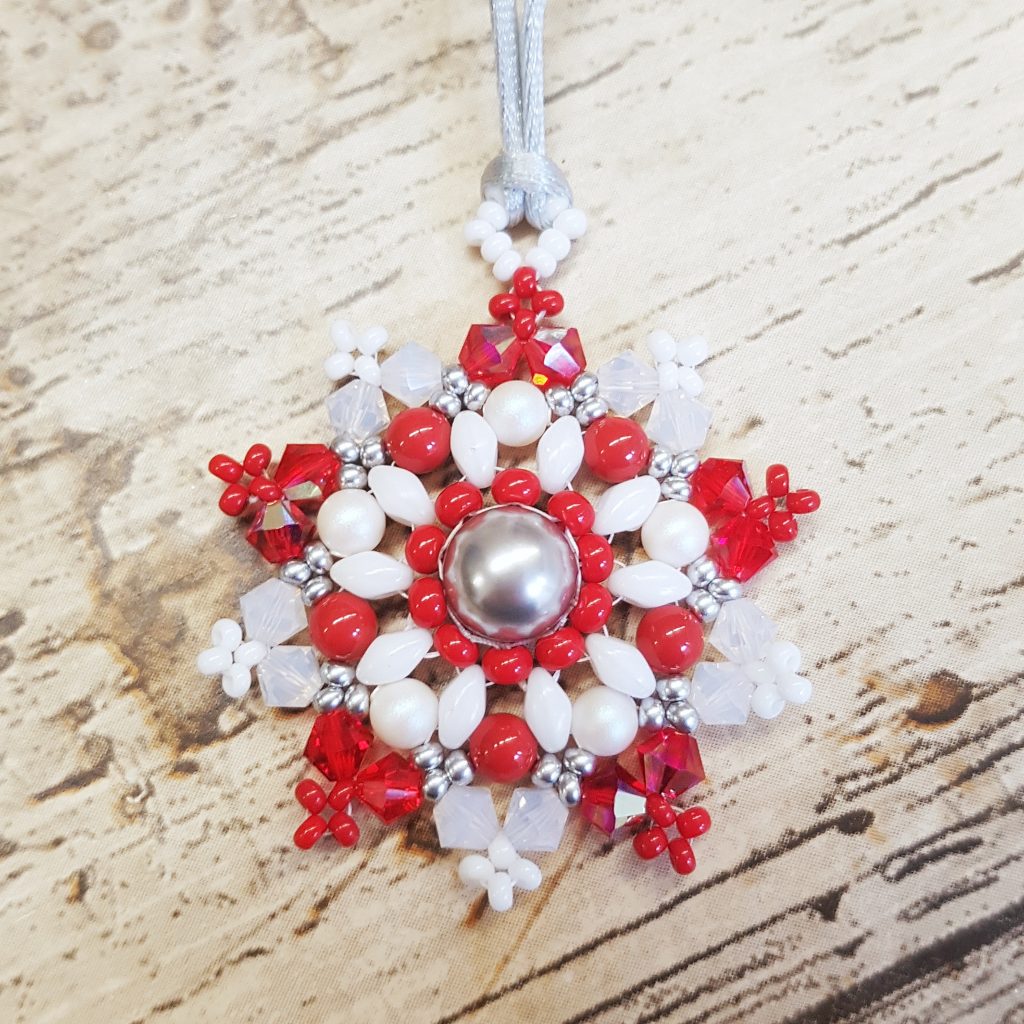
Thanks for reading, do let us know if you have a go at creating your own festive Mandala decoration.
Eloise

