I few weeks ago when having a tidy in our stationary cupboard, where we also store our shrink plastic stock. I came across a few sheets that had been damaged. Ordinarily we make these available in our small sale area down stairs in the basement. However this time I decided to ask Helen and Angela whether they wanted to have have a go at their own shrink plastic experiments. They both were both keen, although neither had used it before so I was curious as to what they would make. They used the instruction from our Shrink Plastic kit for guidance but created either own designs. I wanted to share their results, tips and thoughts.
Helen’s creations & reflections
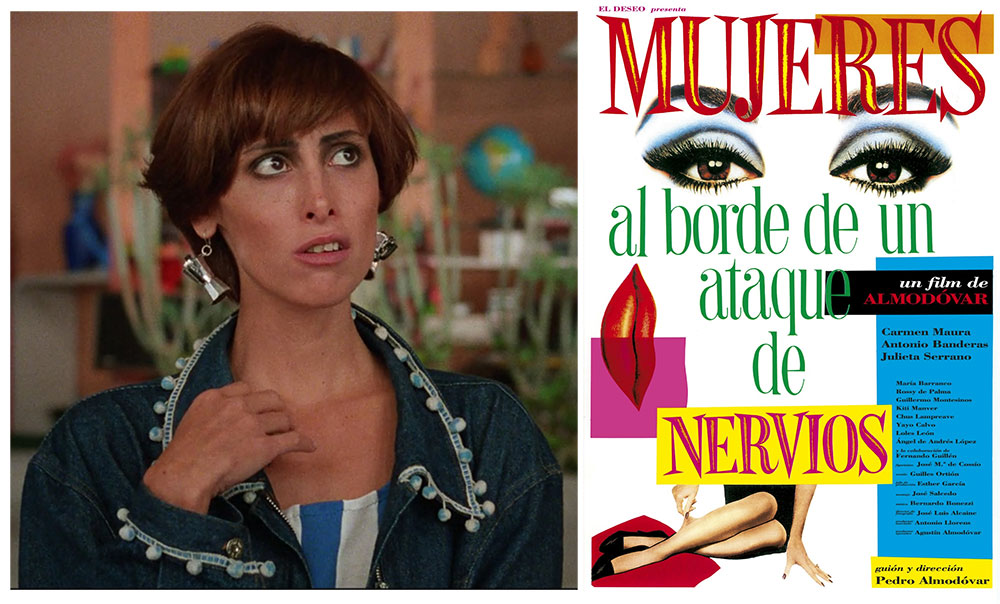
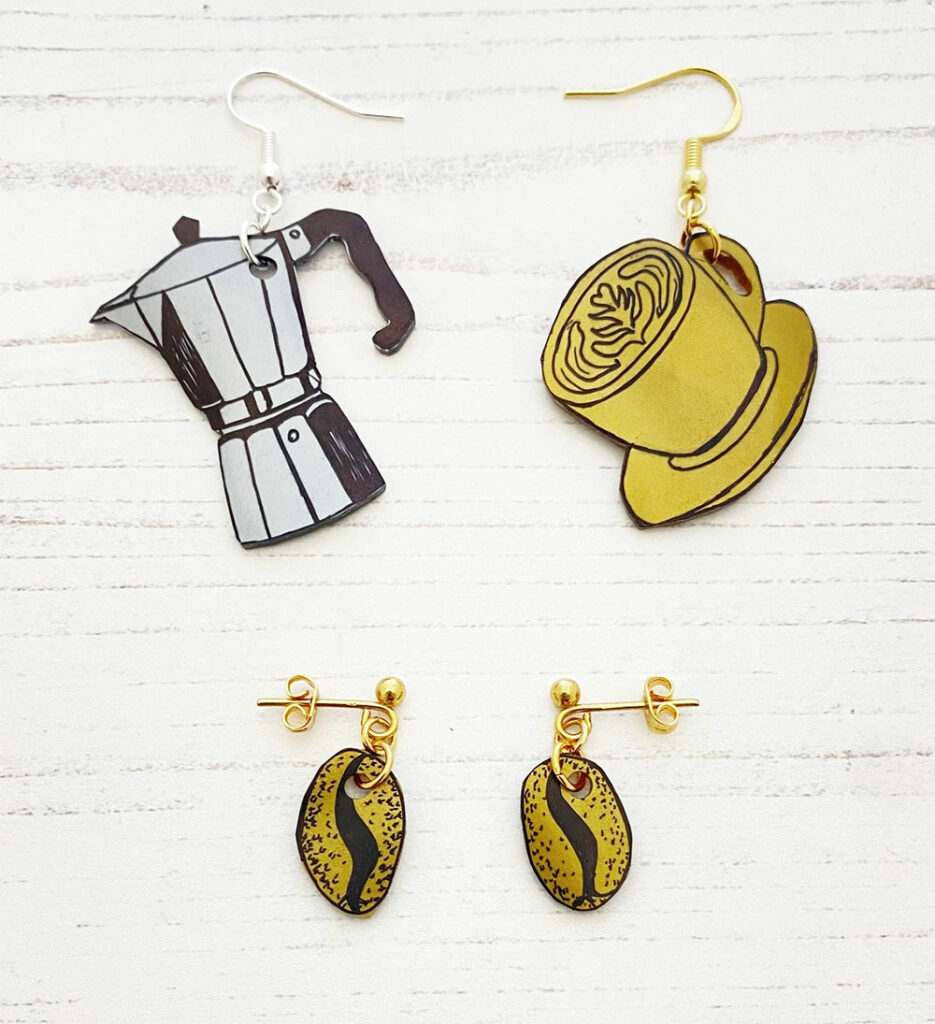
I took inspiration from one of my favourite films, Pedro Almodóvar ‘Women on the verge of a nervous breakdown’. One of the characters has some amazing miniature coffee pot earrings that caught my eye. I’ve been on the look out for similar earrings ever since I saw them, but not found any. So I thought I’d make my own. I also made a cup of coffee (complete with latte art) and some coffee beans to complete my set.
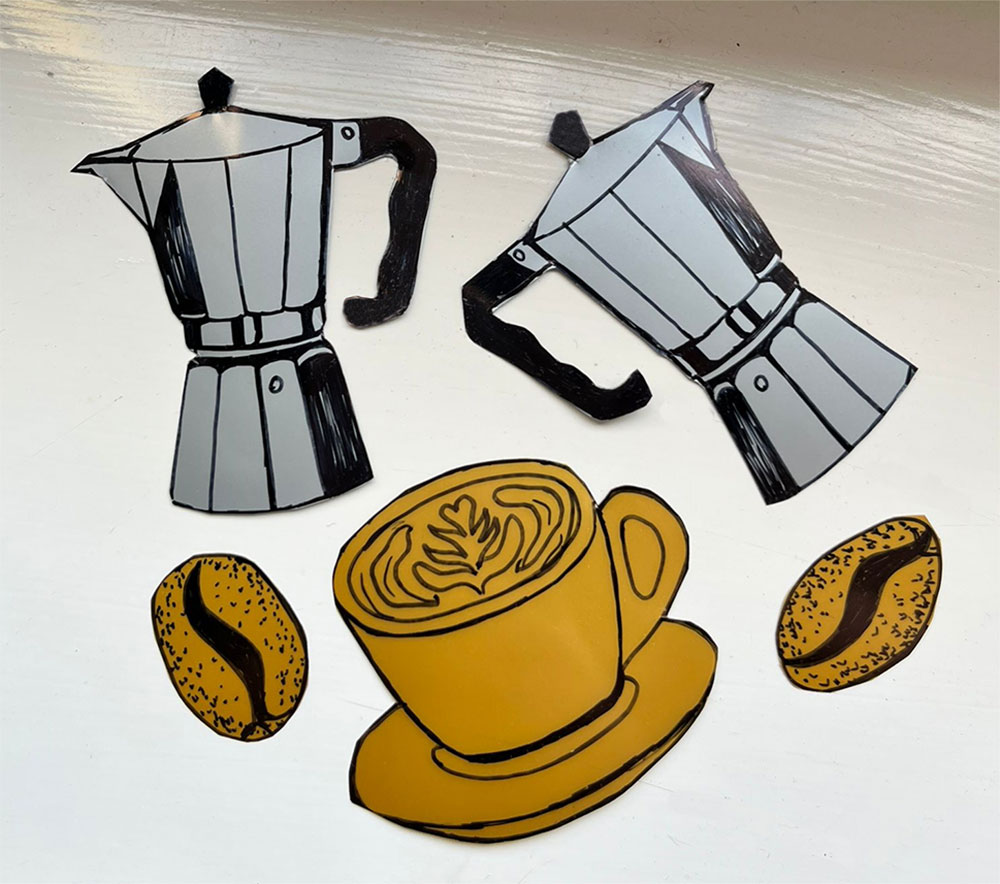
This is a photo of the pieces before I shrank them. I was surprise how much of the detail was still visible after shrinking, I knew if I made it too detailed some of it could get lost when the size was reduced. However I think I could get away with more detail if I made them again.
I had 1 casualty in the shrinking process with the hole I punched. I used a standard hole punch – they make the prefect sized hole after shrinking for adding a jump ring or fishhook. Unfortunately I punched the hole too close to the edge on one of my coffee pots and as it shrunk it pulled apart and snapped (a lesson learnt). As I was using a fan oven to shrink my plastic I followed the tip in the instruction (that accompany our Shrink plastic kit) that suggested using a deep baking tray to avoid the pieces been blown away and that worked really well. Over all I’m really pleased with my earrings. It’s a fun versatile medium to work with.
Angela’s Pieces
I’ve never used shrink plastic before experimenting for this project but I did melt a fair few crisp packets making keyrings in the 90s (Salt & Vinegar Discos were the best!). So I was familiar with the concept of using the oven to shrink plastic and keen to to have a play again.
What struck me when I started looking at the kit was the universality of the material – it is so simple and adaptable – layering different colours and shapes creates modern geometric designs, before you even start drawing on it!
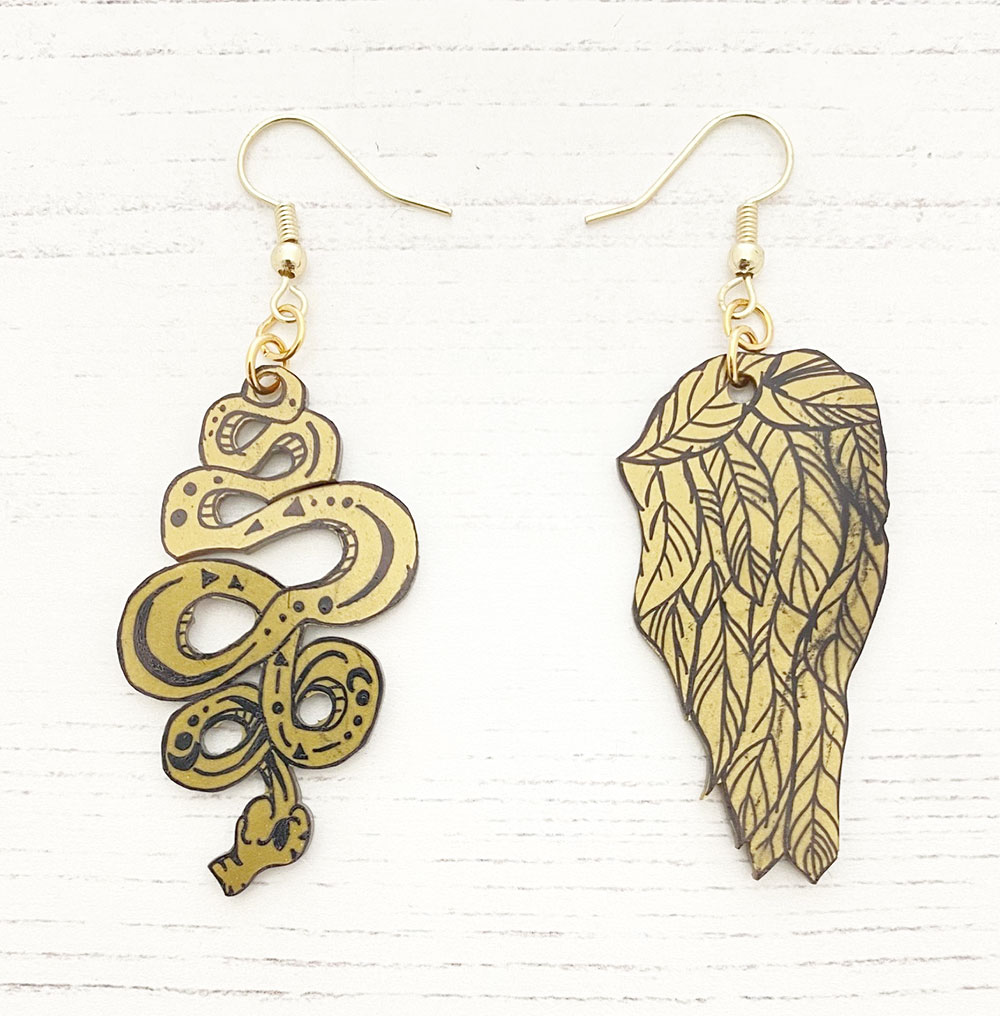
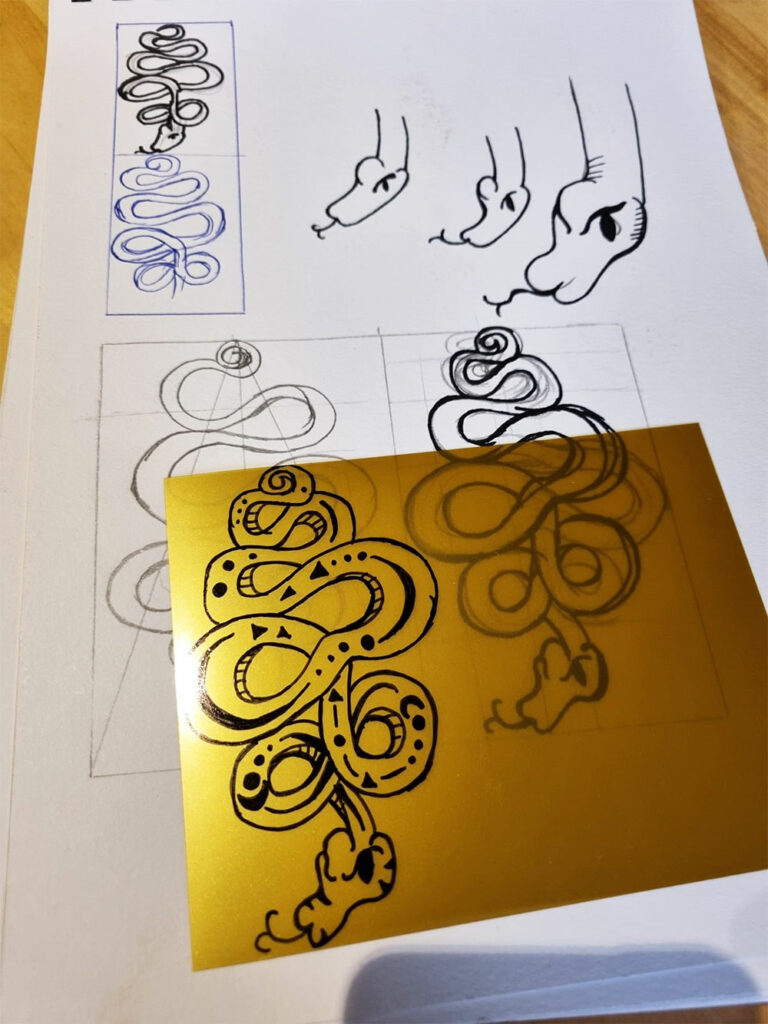
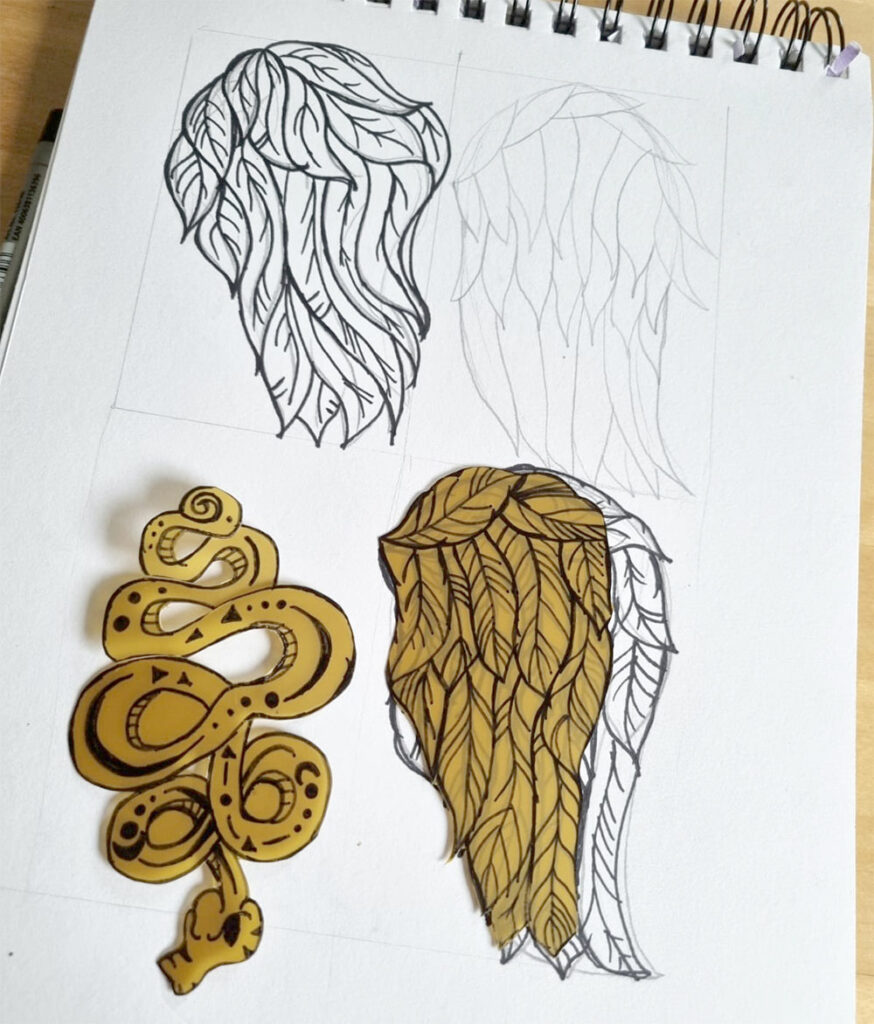
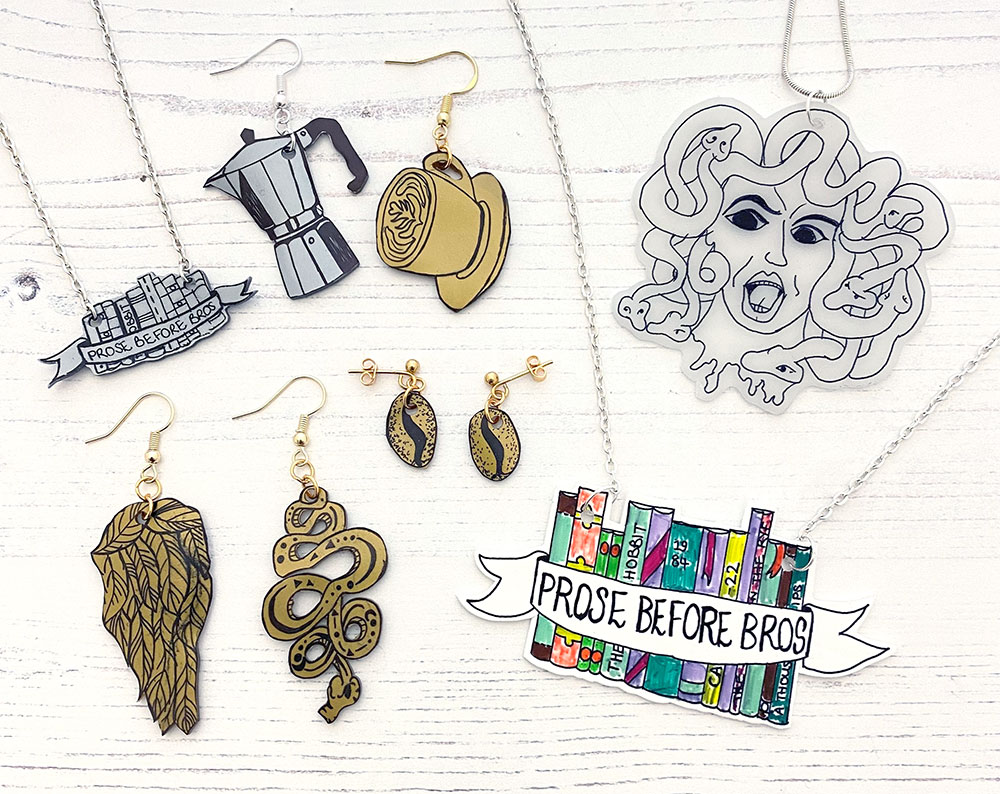
As usual, I had way too many ideas to begin with. But I have been wanting to make a pair of mismatched snake and angel wings inspired by my obsession with Good Omens! I haven’t been able to find just the right snake so I thought I would take this opportunity to create my own! I drew out my designs in pencil on a sketchpad and lined it with a fine marker. Then put the shrink plastic on top to trace the design – really straightforward and I was pleased with the result!
When I was cutting out the first two pieces, I realised how brittle the plastic is when I accidentally cut off the snakes tongue. So I switched to smaller and sharper scissors, and slooooowed down… It does not cut like paper, you can’t run the scissors through it.
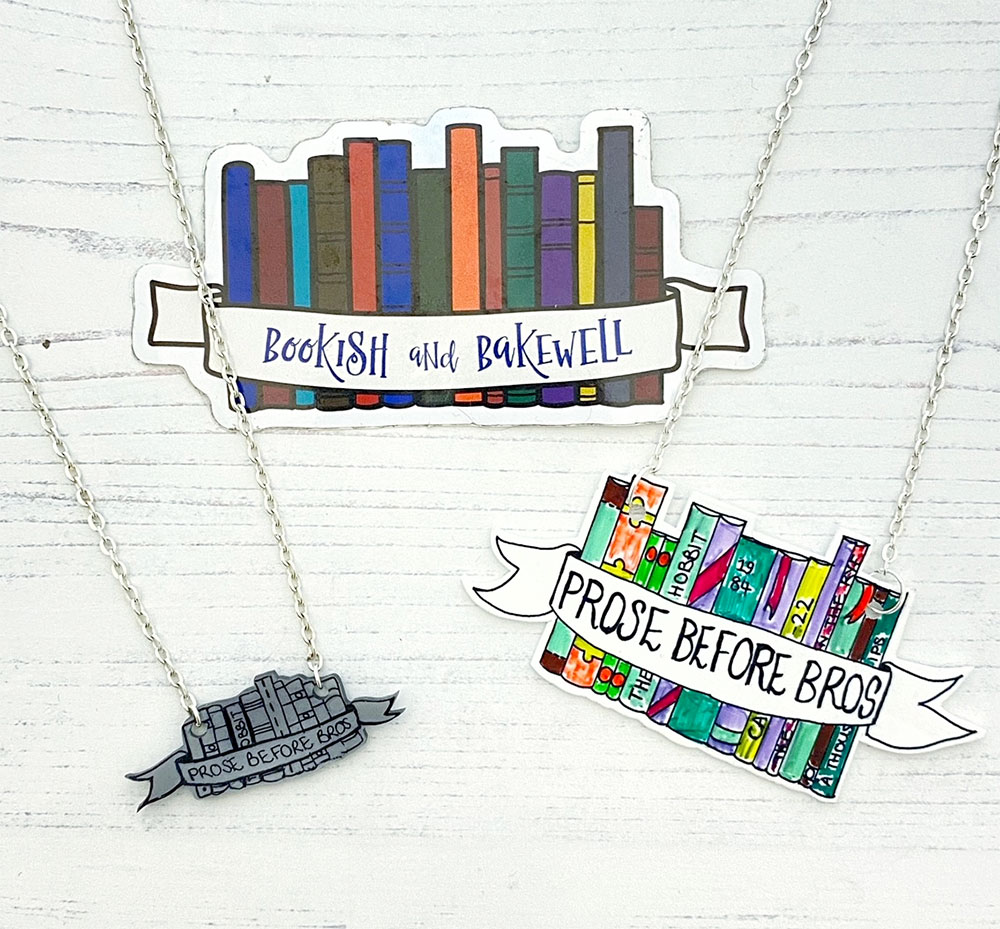
My second design idea was sparked by a Bookish in Bakewell sticker I found in the staff-room. I sketched it out in the same way and shrank it down. I really liked the design but it came out way too small. So I ended up redoing it, sizing it up, adding colour and I was much happier with the second piece! I used coloured sharpies and some pastel markers to add colour to the books. I had to bear in mind that the colour intensifies as it shrinks.
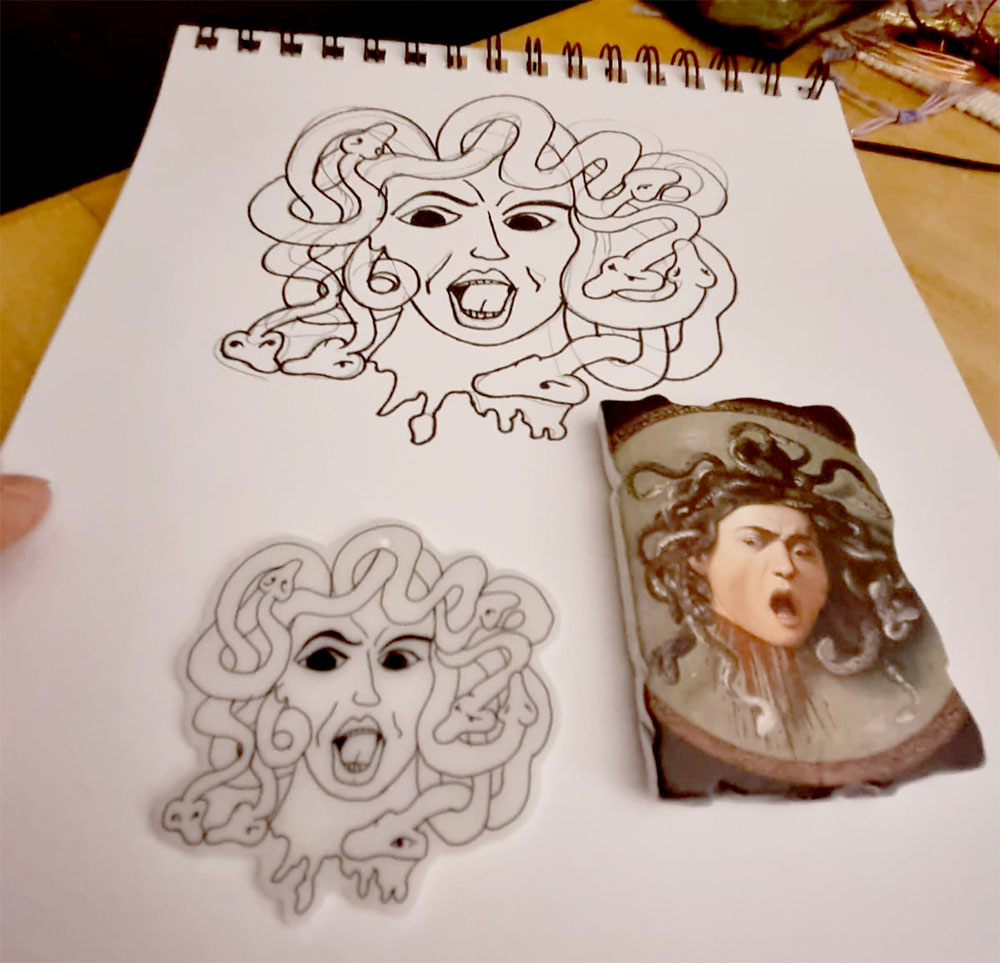
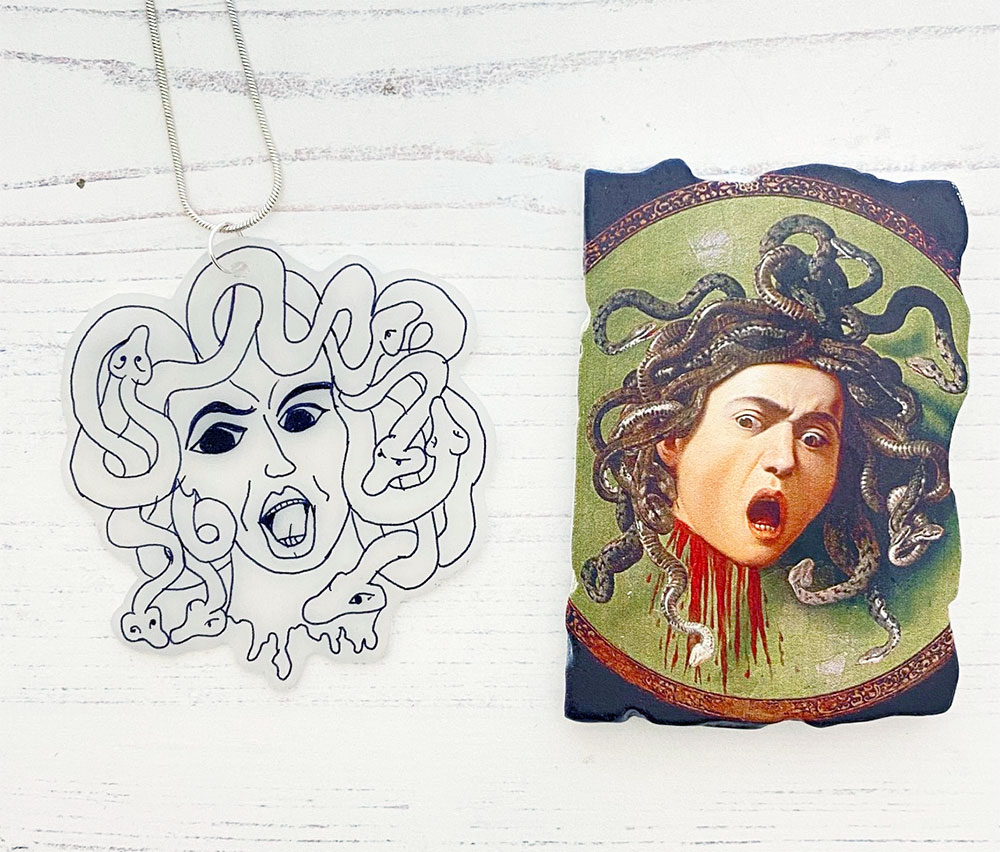
My final (and favourite piece) is my Medusa pendant. Based on Caravaggio’s Medusa Shield, which I saw in the Uffizi on my trip to Florence earlier this year. It is so powerful and enigmatic, it really stayed with me and has popped up in all sorts of crafty makes since then!
I played with the sketch for ages, adding more detail and taking it away. I’d considered adding colours but in the end I refined it to a fairly simple rendition.
For this design I copied my sketch on to the translucent shrink plastic. Steph had pointed out that this one takes coloured pencil really well, but I resisted the urge this time. I will definitely be redoing it with green snakes, giving Medusa a marble effect face. Some silver eyes and potentiality a gold Kintsugi style cracked pattern over the whole thing.
Thank you both!
I’m so pleased I gave Helen and Angela this little challenge. Both of them approached it in different ways and I love their varied inspiration points. They also seemed to really enjoy it & I love seeing what other people make with this, often underrated, material. They both have plans to make more and evolve their designs.
I hope you’ve enjoyed reading about, and seeing their shrink plastic experiments too. If you want to have a go at making your own shrink plastic creations we have a kit. Which has templates and inspiration for making you own jewellery. Or why not buy a few sheets and get doodling, taking inspiration from whatever piques your interest.
Thanks for reading.
Steph

