Sometimes being faced with a blank canvas, whether it’s an actual canvas or a bead, can feel a little daunting. So I thought I’d share some inspiration for how to decorate natural wooden beads. Sometimes wanting to find the right colour to go with a particular garment can be enough to spark your inspiration. I have been known to paint my own beads for that very reason.
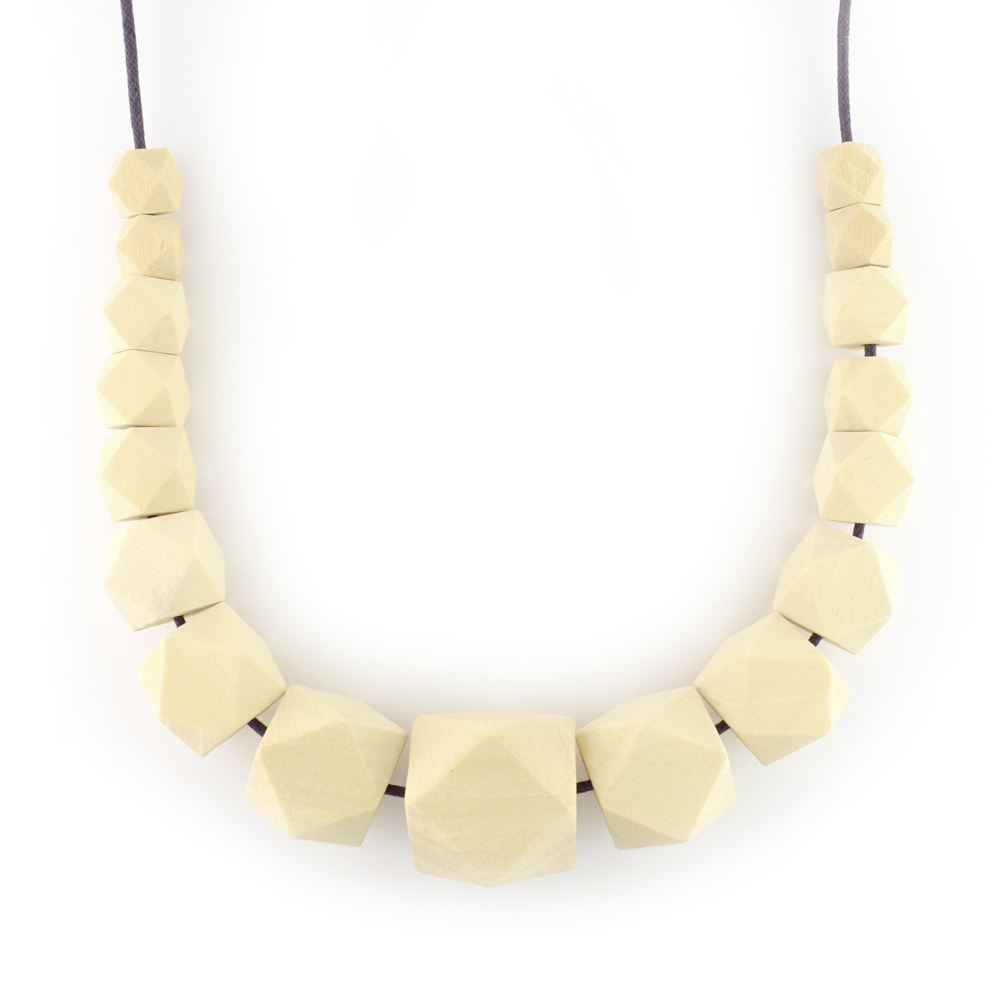
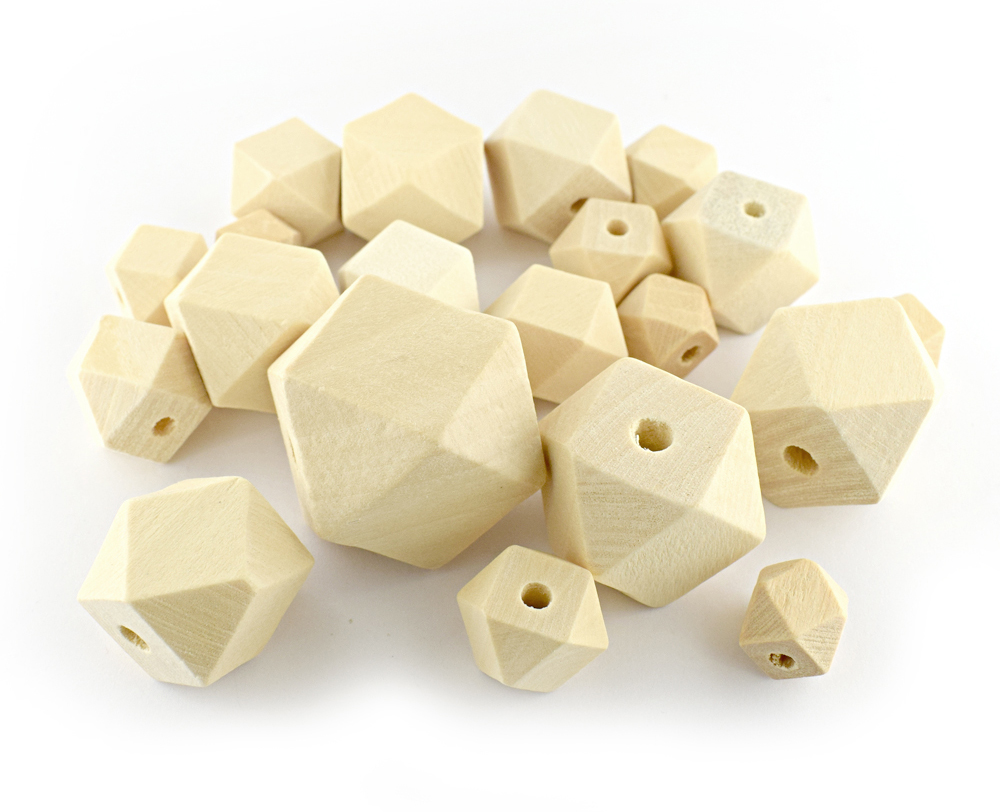
Our new plain wooden geometric bead sets are perfect for creating your own personalised jewellery; whether you choose to paint them or not. The graduated sizes make them perfect for a necklace.
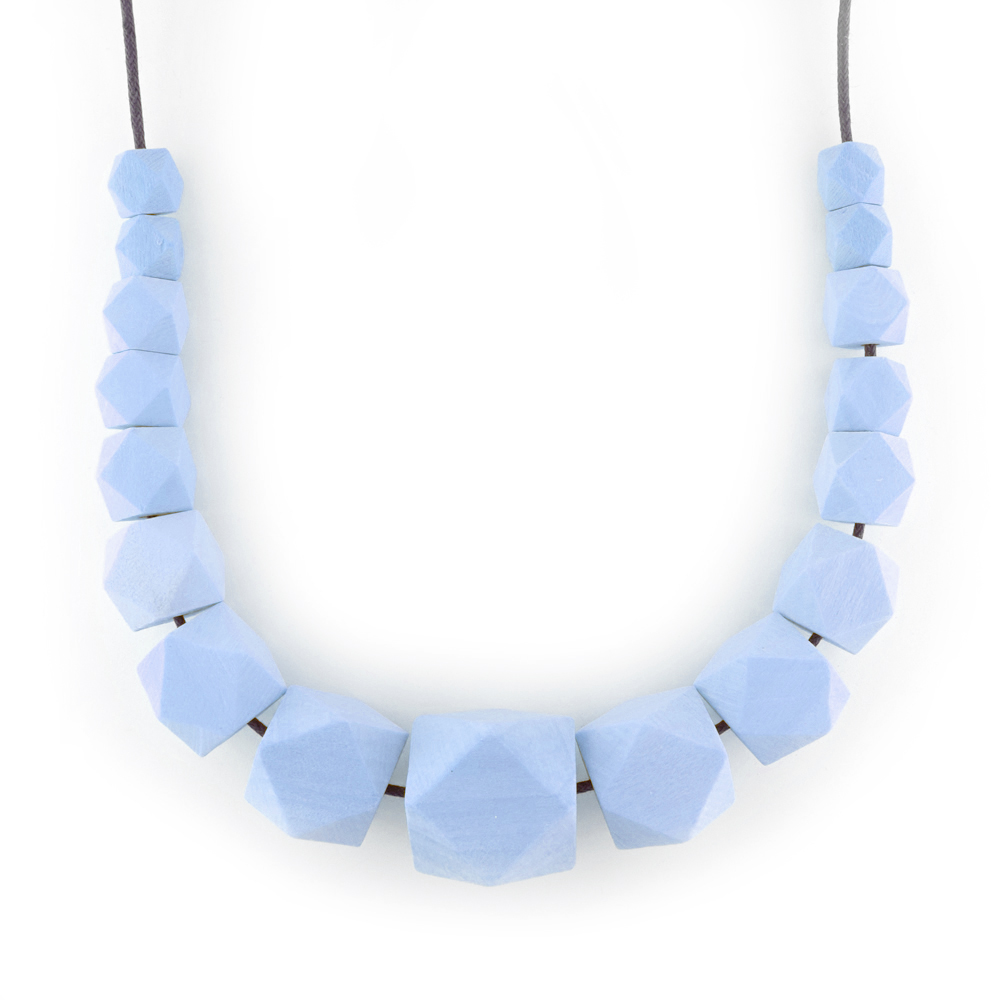
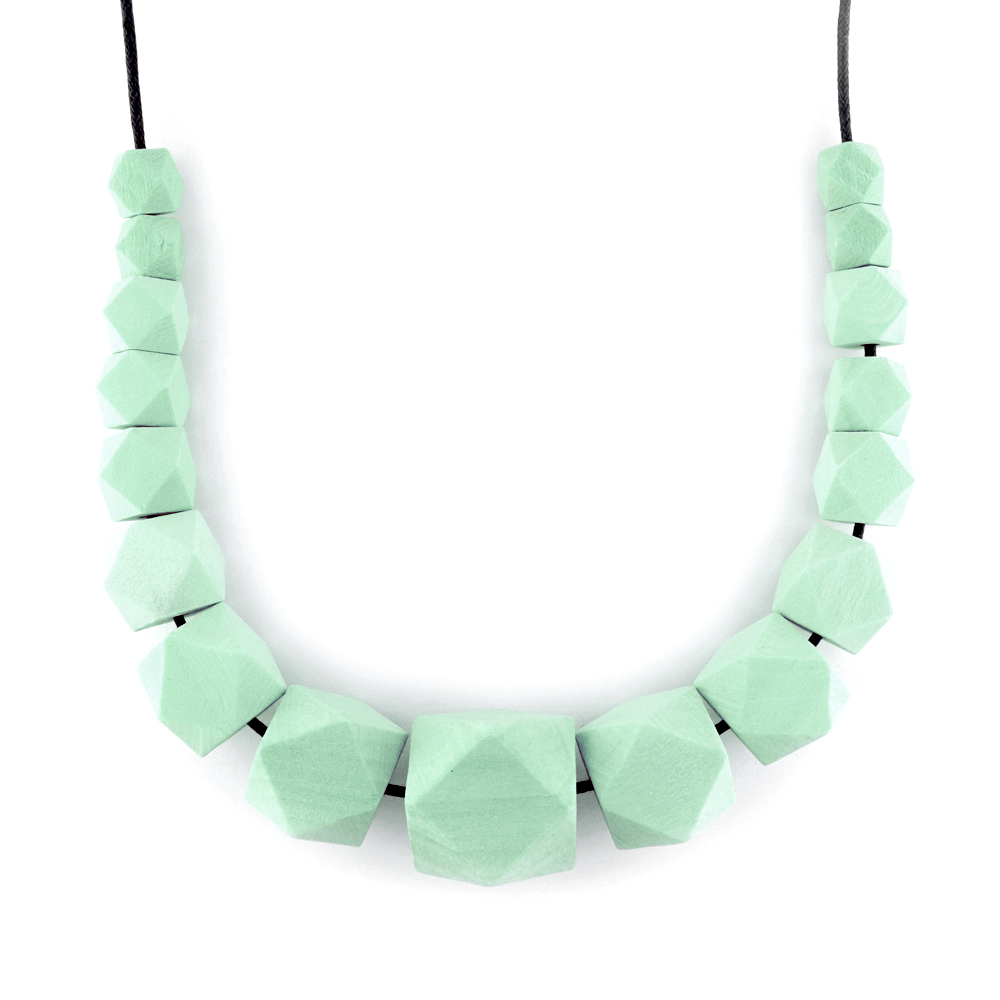
Simply painting and stringing them on cord is a simple and effective way for customising them.
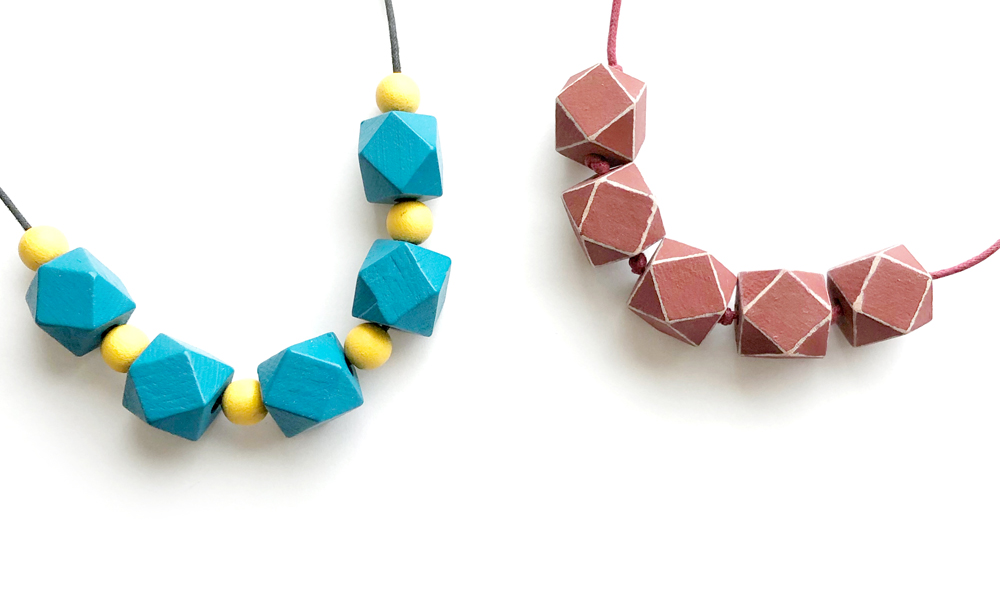
The necklace on the left I kept simple with solid colours. I love turquoise and it can be quite hard to find a good shade. Using my acrylic paints I mixed the colour I wanted. I thought the beads would work well with a spacer so I used 10mm plain wooden beads and painted them yellow as a good contrast.
I created the effect of the necklace on the right by painting my beads with some left over chalk effect furniture paint in grey. Then painted them with a dark red acrylic paint. Once the red paint was completely dry I lightly sanded the edges to reveal the grey paint below. This creates a shabby chic/rustic look that highlights the individual facets of the beads.
PAINTING TIP : If you want to retain the texture of the wood, water down your paint a little. The paint with soak into the grain more, rather than sit on the top (don’t dilute it too much as this can look dull). If you want to create a more solid shiny effect you can build up the layers of the paint and even varnish them for a high shine. If you’re not sure what effect you want try a diluted paint first as you can always paint over it and build up layers.
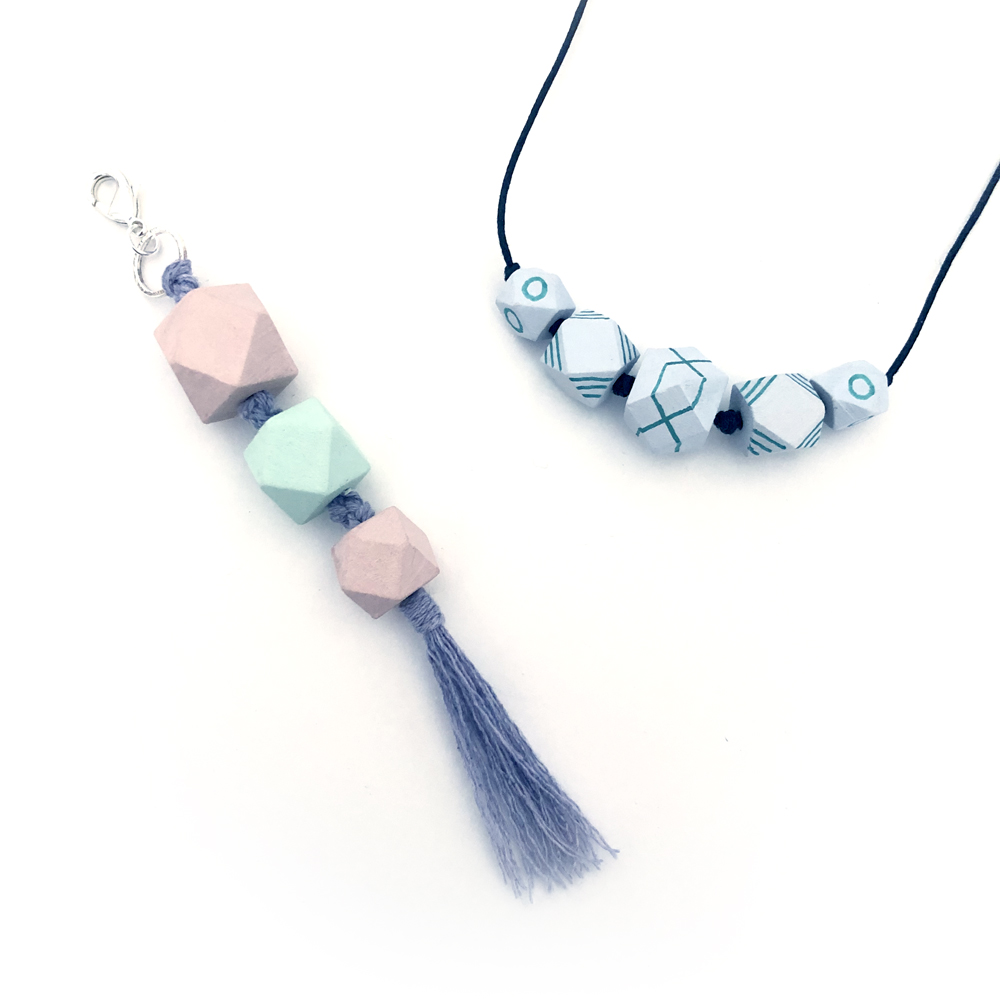
I’m a big fan of mixing my own colours, like the macrame bag charm above. I made the smaller necklace by applying acrylic paint with a paint brush for the base colour. Then I used a fine paint pen, for the detail. Using a paint pen gives you much more control and it’s easier for fine detail (especially if your hand is as unsteady as mine).
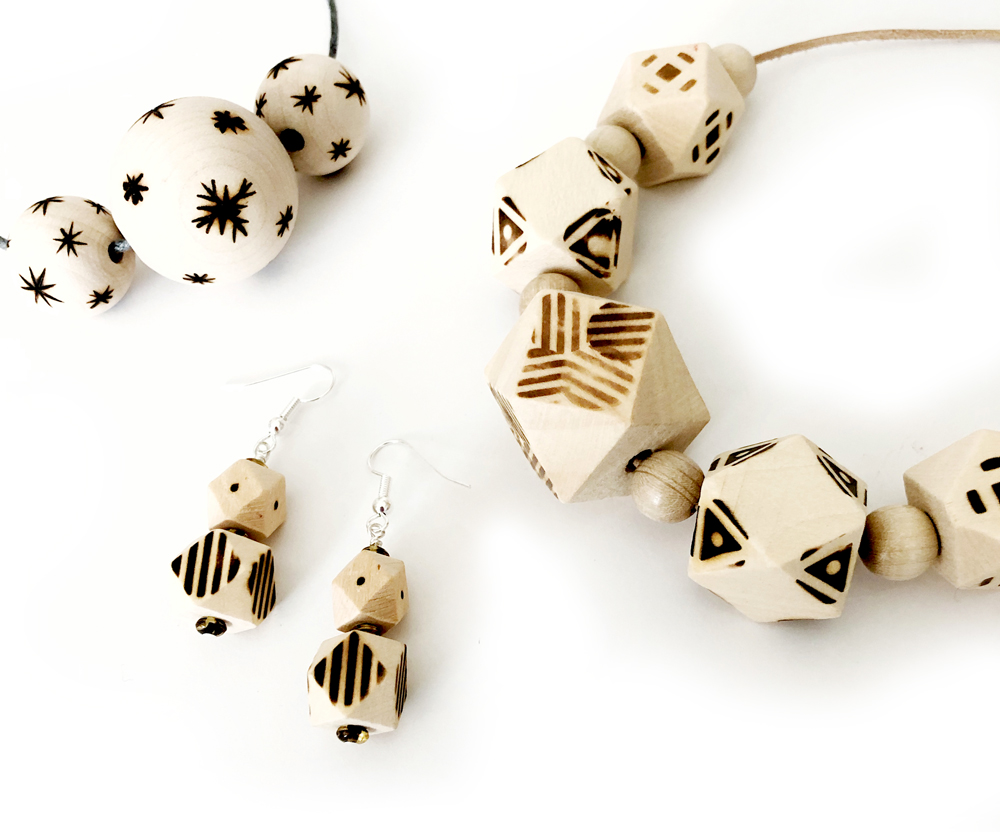
Another technique that is great for wooden beads is Pyrography (burning into wood). I’m not experienced when it comes to burning into wood. I inherited a decorative pyrography set from my Grandma and I have only had a play with it a few times before. This seemed like the perfect time to get it out again. The set has a few changeable tips for burning different designs, including some pre-made designs. I tried a couple of these and they work well. If you have a steady hand you can also use the plain tips to make your own marks. My favourite tip is shaped a bit like a slot head screwdriver – helpful for creating straight lines easily.
These are just a few ideas or inspiration for how to decorate natural wooden beads, maybe something here will spark an idea or maybe you’ll try something completely different. Feel free to share what you create with us using #TheBeadShopNottingham

Thanks for reading , Steph.