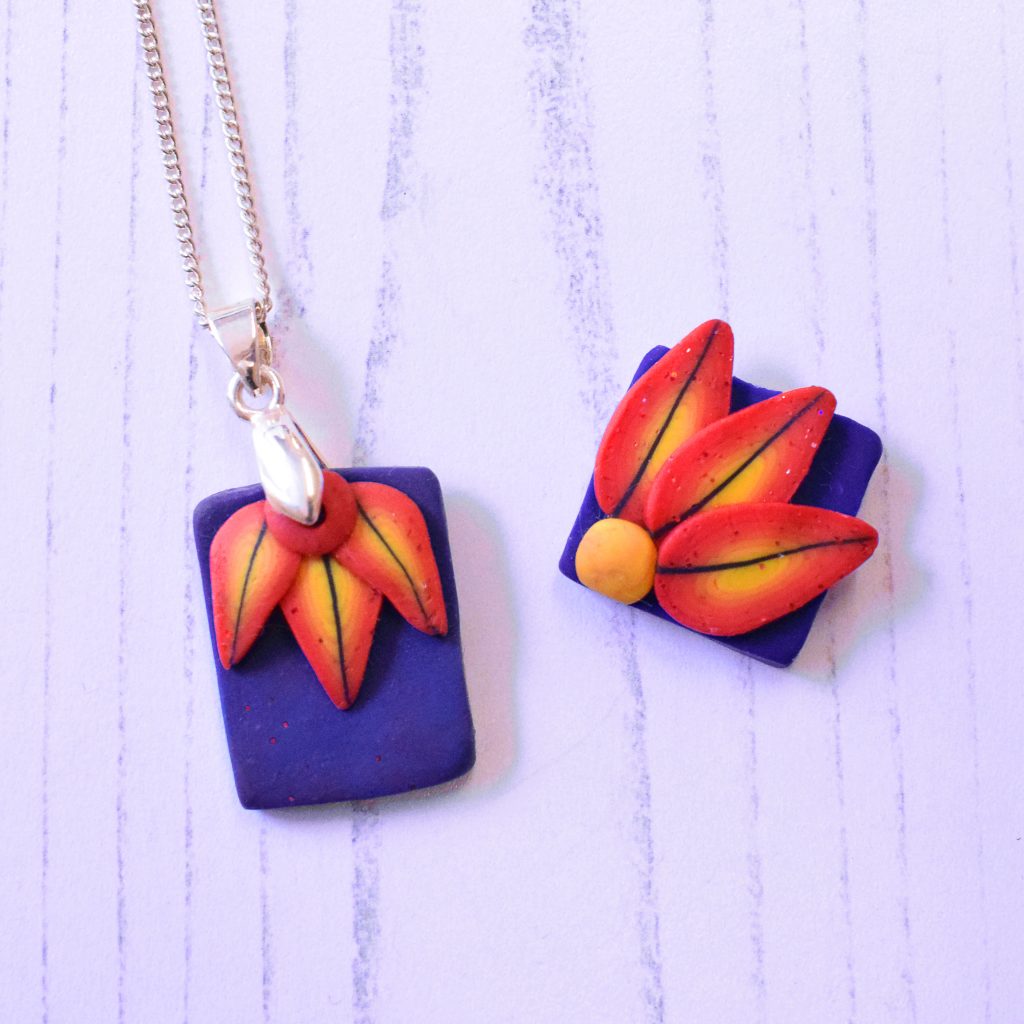
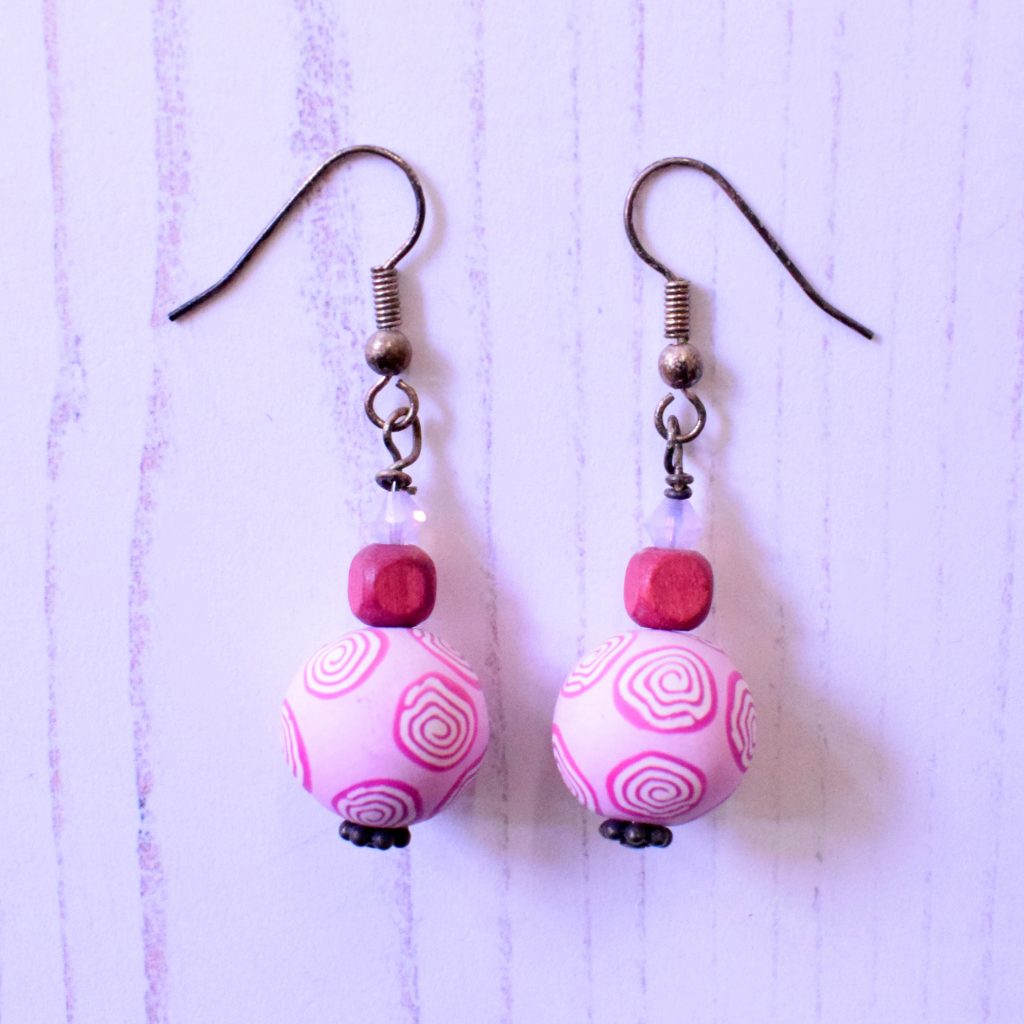
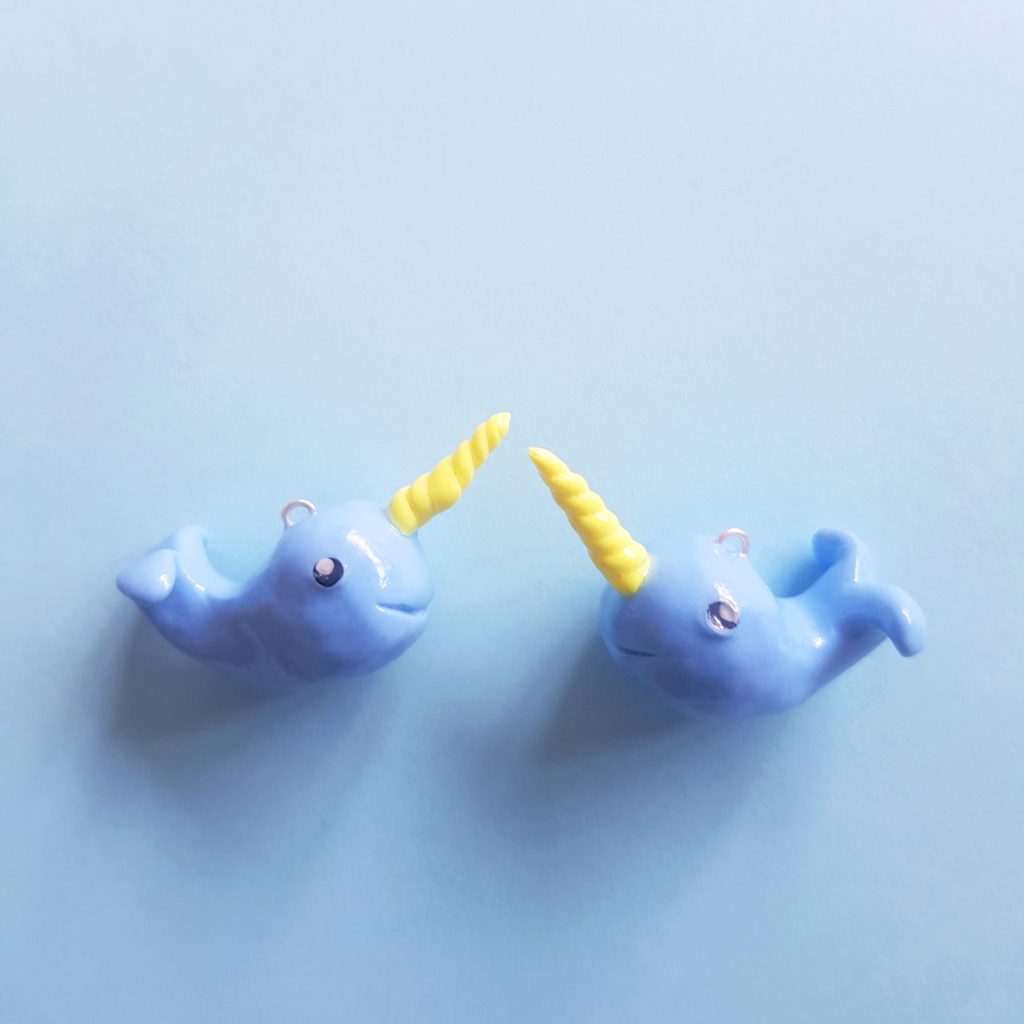
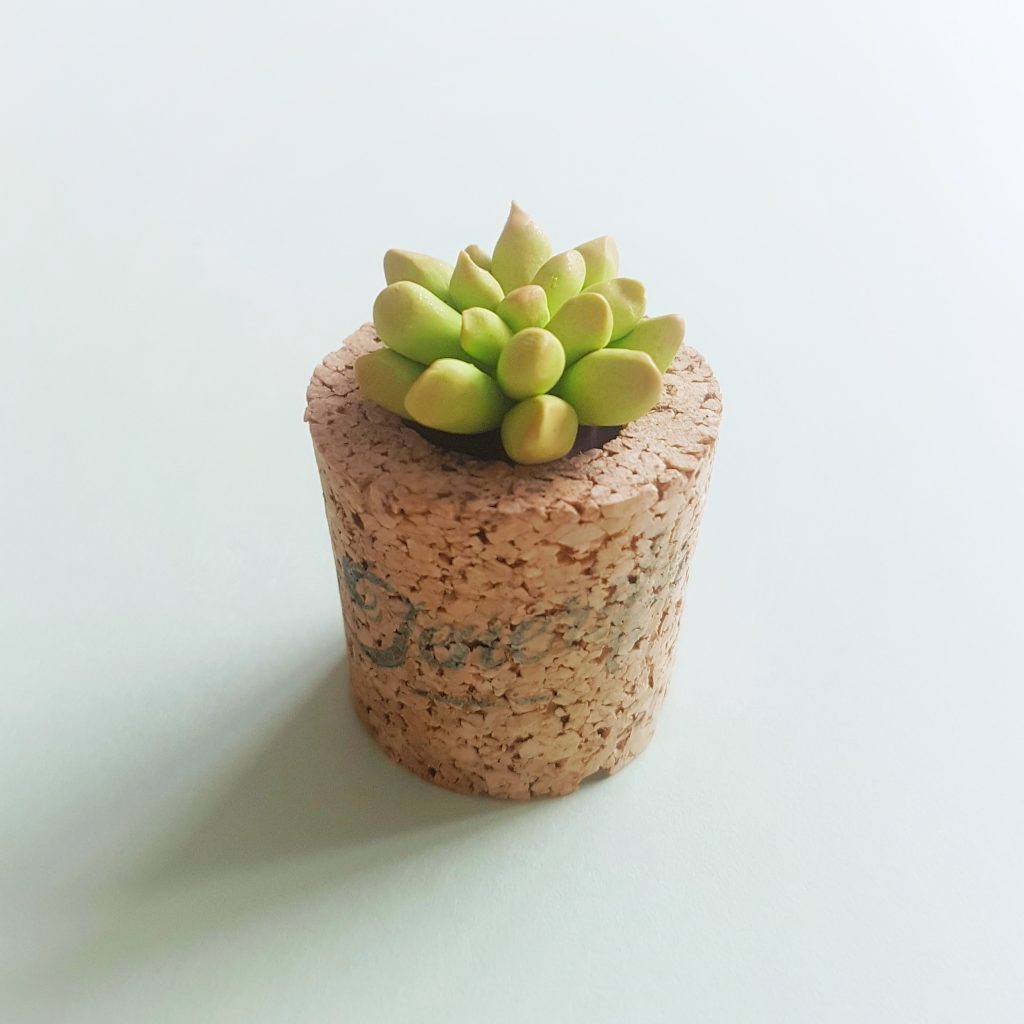
Hi, I’m Eloise! The newbie here at The Bead Shop. You may have seen me on our Instagram or in store recently. I’ve recently really got into making items from Sculpey clay. So I thought I’d share some top tips from my first time using polymer clay.
When my partner first found The Bead Shop, coming home with a pile of leaflets on workshops and crafty info along with my first pack of polymer clay, I couldn’t have guessed that only months later I would be a member of the lovely team here!
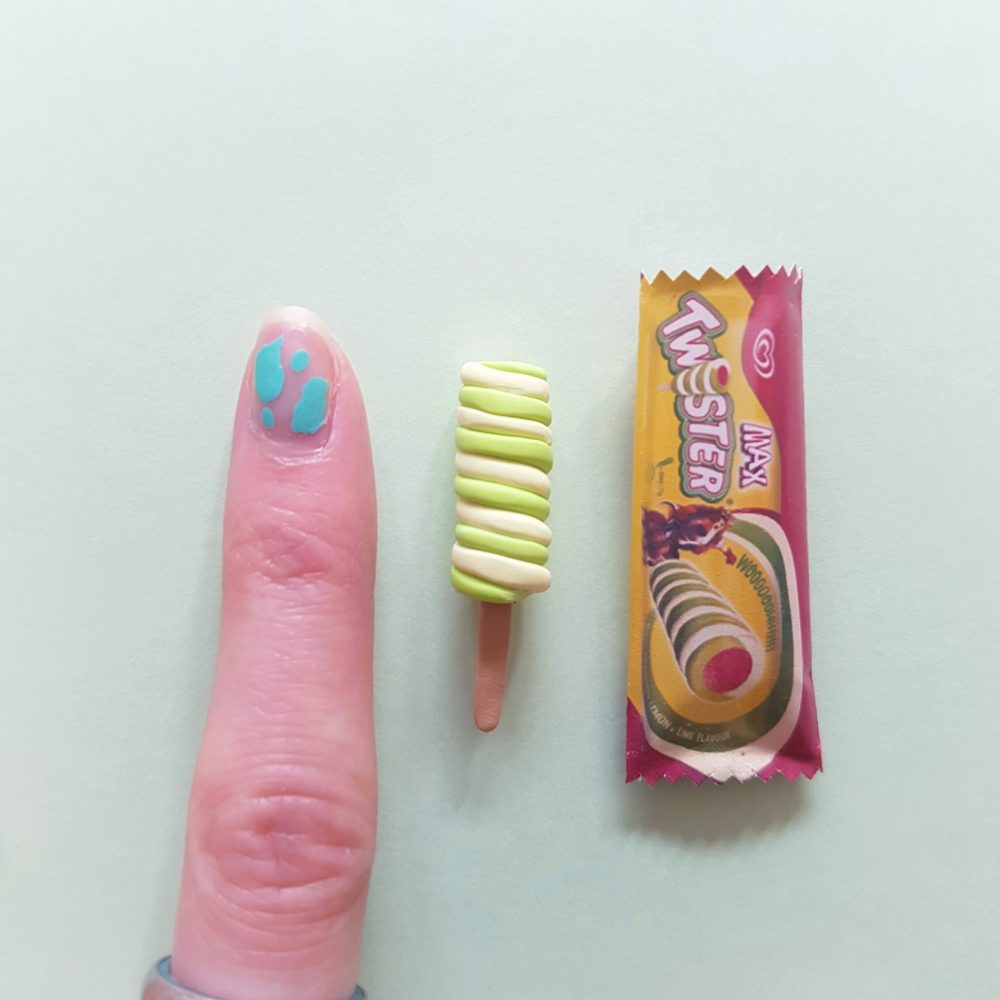
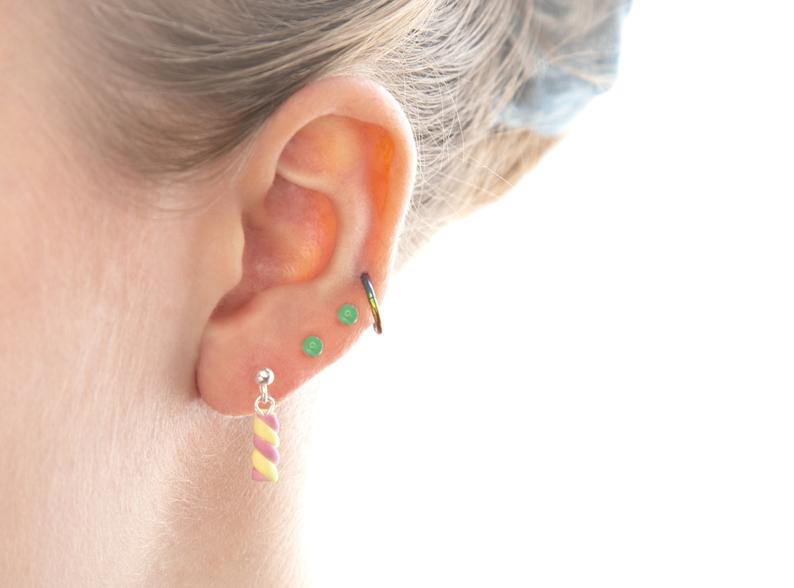
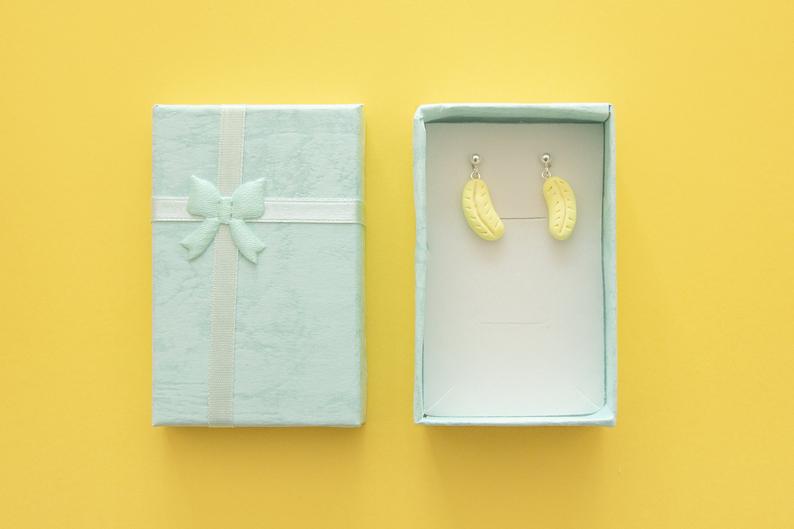
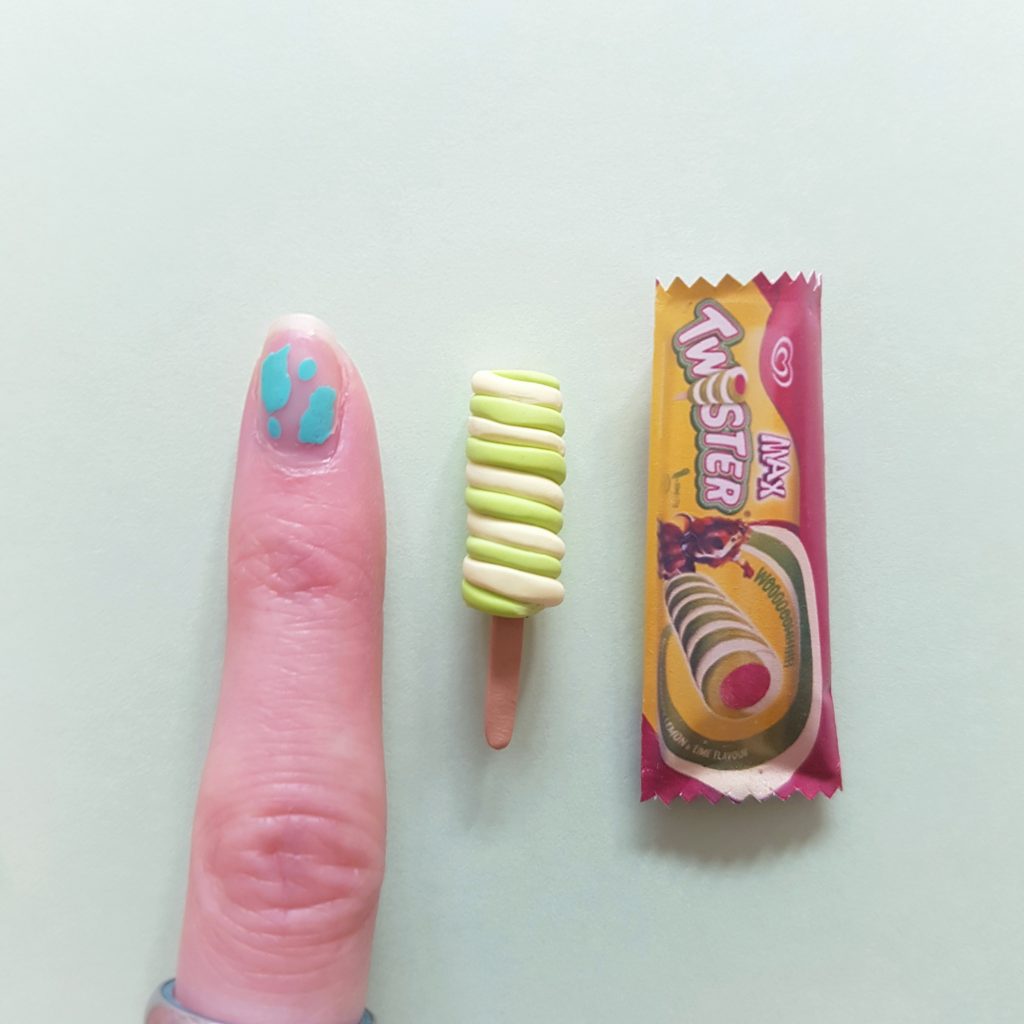
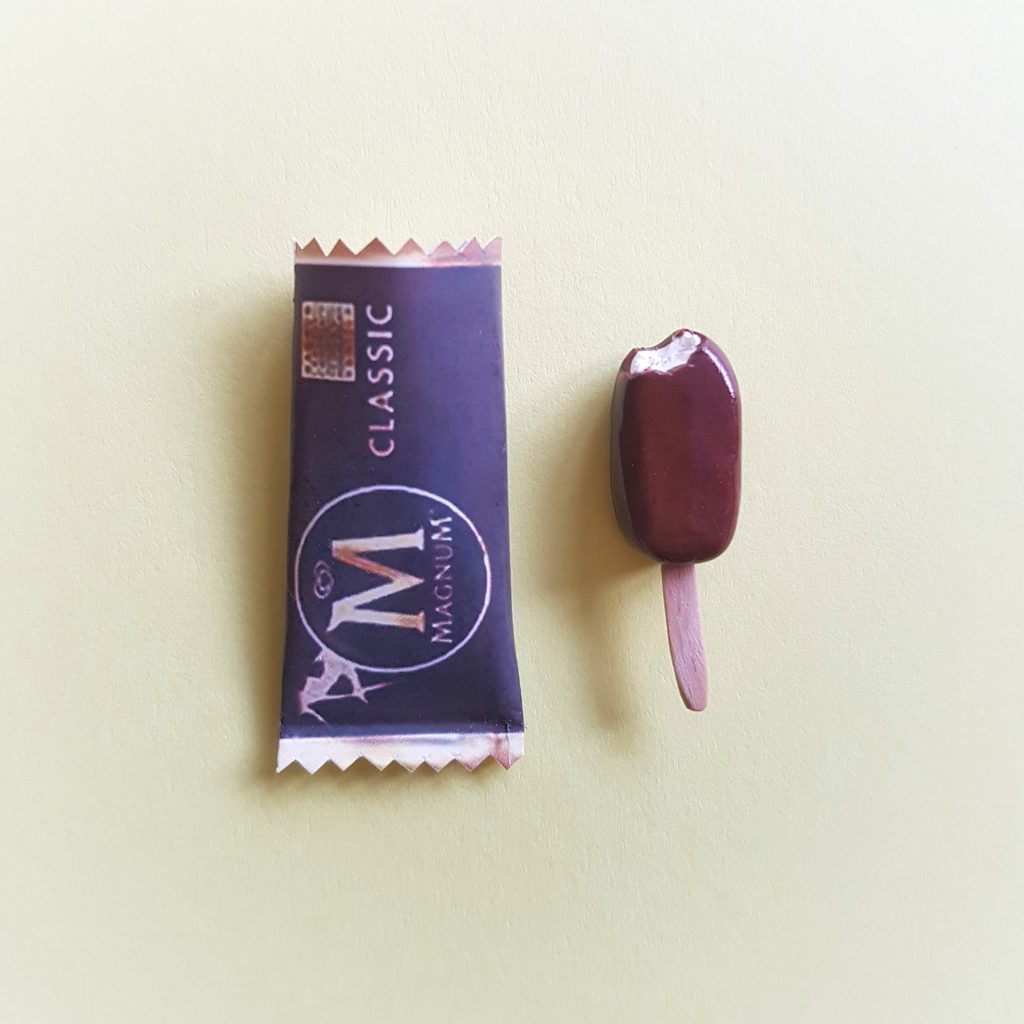
That wasn’t long before lockdown and, thanks to so much time at home, polymer clay has now become one of my favourite creative hobbies, and even a way to make a few extra pennies! Bonus 😉 I especially love making tiny food. I’m still experimenting and learning all the time, it’s so much fun.
You can bake polymer clay in your normal kitchen oven (but watch the temperature).
Yep, that’s right. It’s so easy to do at home and you don’t even need any fancy equipment! You do have to keep an eye on the timings and temperature though. My first attempt was really a fragile, crumbly disaster. I invested in an in oven thermometer after that and it’s baked perfectly ever since. I worry about my cooking though; the built in thermometer is definitely not accurate. From my experience it’s better to over bake the clay on a lower setting than to have the oven on too high as this can burn.
Tip: Be sure to air out the oven and open a door after use as polymer clay can smell a little.
You can do so much!
As a medium, polymer clay is so versatile. You can create models and sculpt with it (like tiny food), shape beads, make canes which are perfect for slicing, design delicate pieces with liquid clay, mix it, blend it and combine all of these! You can also bake other things into the clay, like eye shadow, certain paints and pastels, glitter, metal findings (I suggest adding some liquid clay or similar to secure these) and even other beads.
There are so many different types
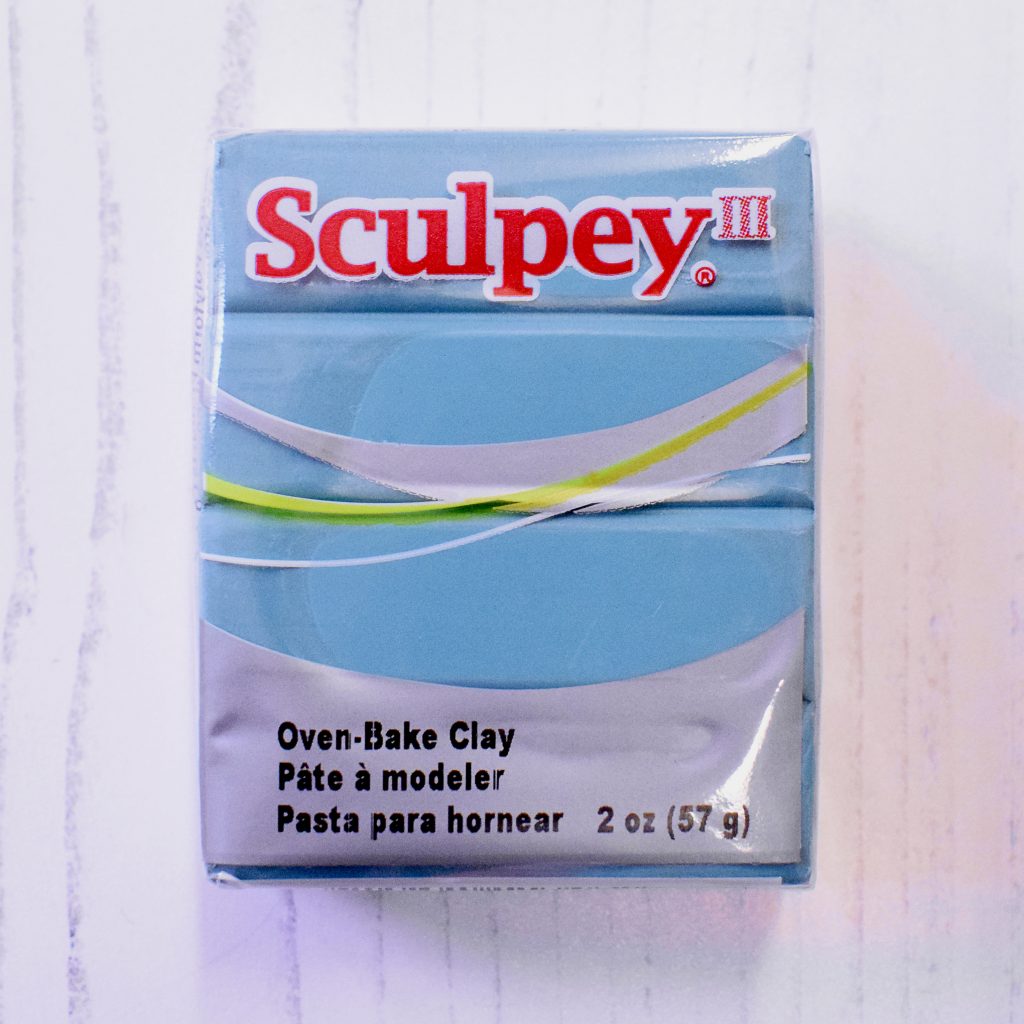
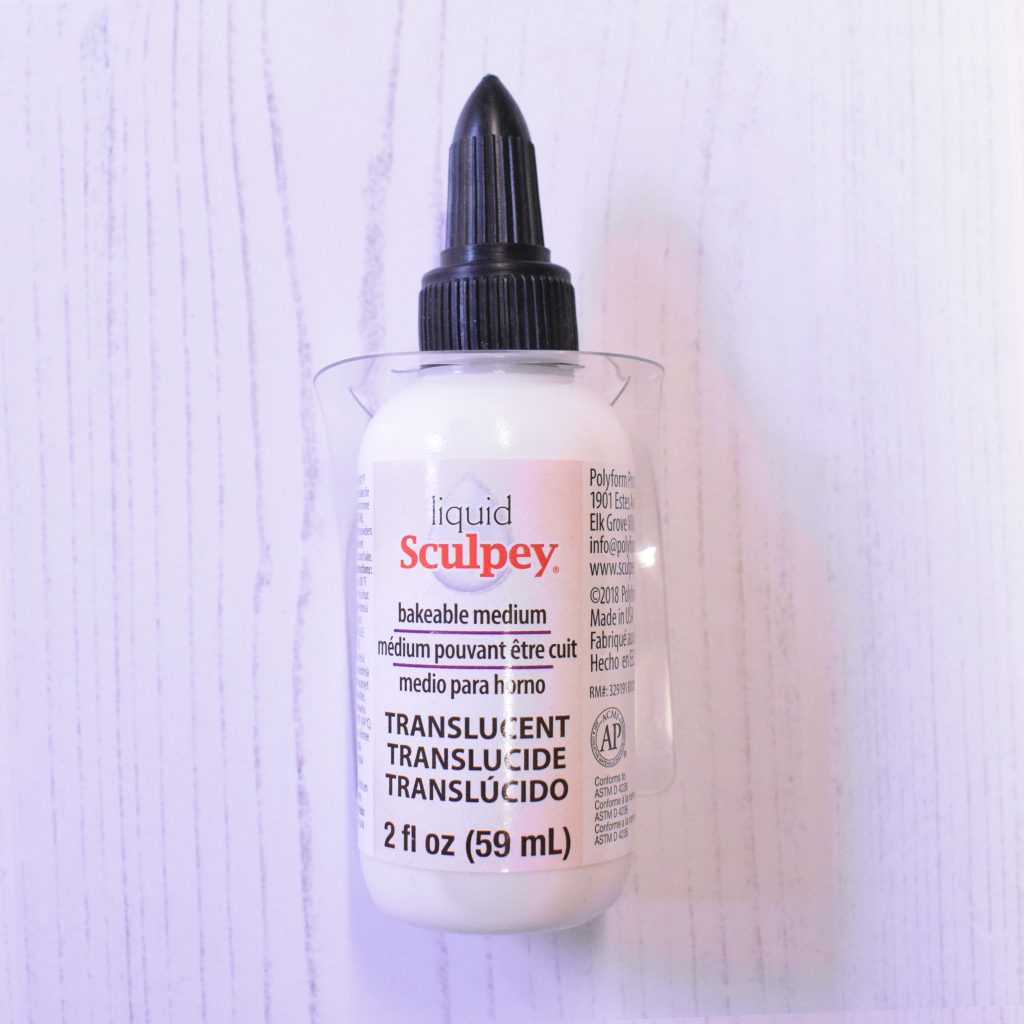
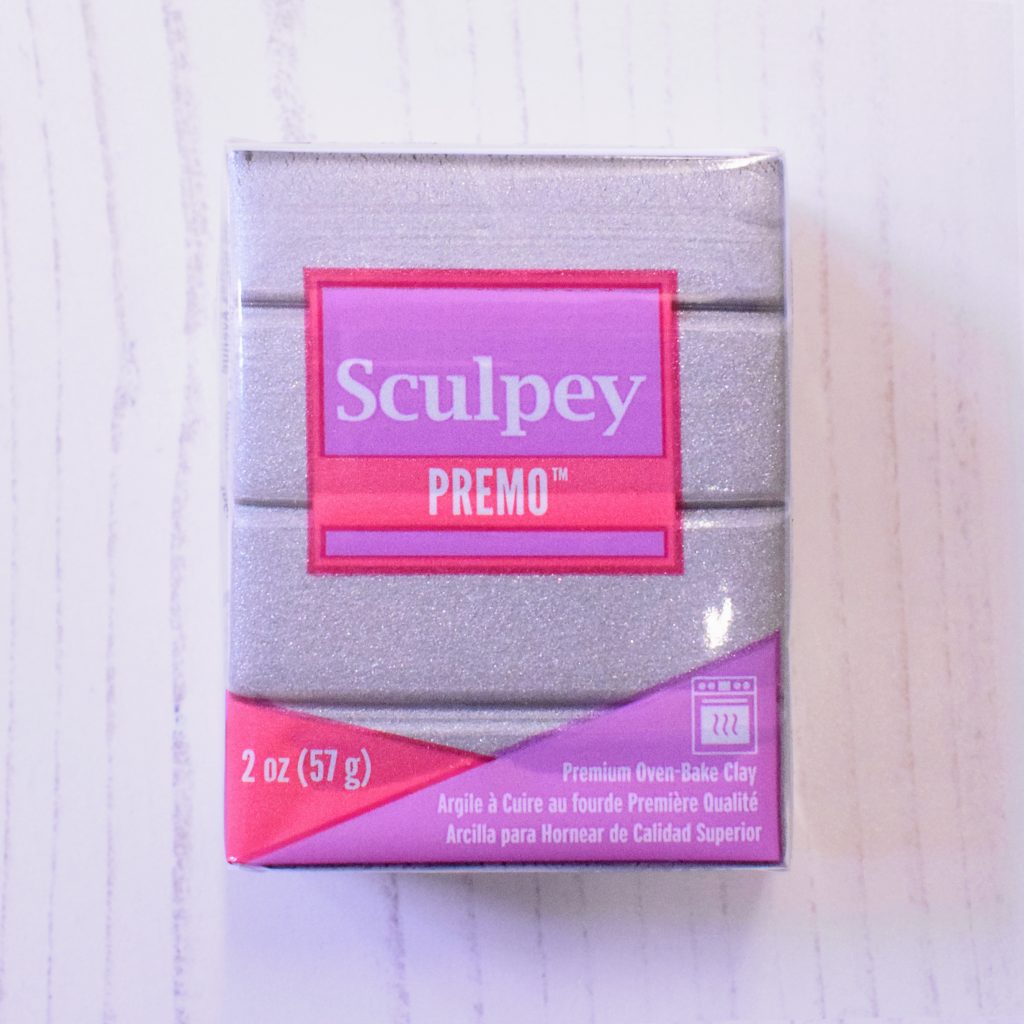
There is a variety of colours and finishes, from pearlied or transparent to metallic and glittery, within the Sculpey clay range and even liquid clay! I use various Sculpey’s, which is super convenient now that I can get them at work 😛
It is worth investing in a rolling pin or pasta machine
I’ve read loads of tips online suggesting using jars or pens if you don’t have a rolling pin and though these seemed to work ok, but I’ve often ended up with an uneven slab of clay stuck to something or other. When I tried an acrylic rolling pin (I haven’t tried a pasta machine yet) it was so much easier, cleaner and smoother. If you do use a rolling pin, here’s a top tip: use wooden lolly sticks, or old playing cards stacked together to get a perfect, even width when rolling out your clay.
You need to wash your hands… a lot
Clay picks up all kinds of bits of fluff from my hands, tools and surfaces. The colour also rubs off all over the place, so here’s another tip: start with your lightest colours and work towards the darkest, washing your hands between each colour.
You can smooth out imperfections after baking
There have been moments when I was starting out when I was so disappointed about a slight finger print in my lovingly made artwork, but fear not! I discovered that you can remove marks and baked in fluff by sanding baked clay and lightly rubbing acetone nail varnish remover on with a cotton bud for a perfect, smooth finish.
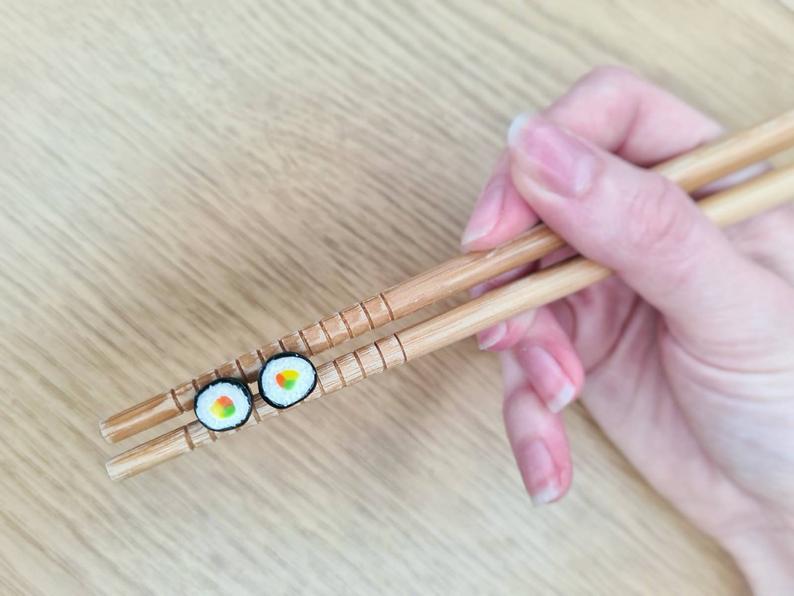
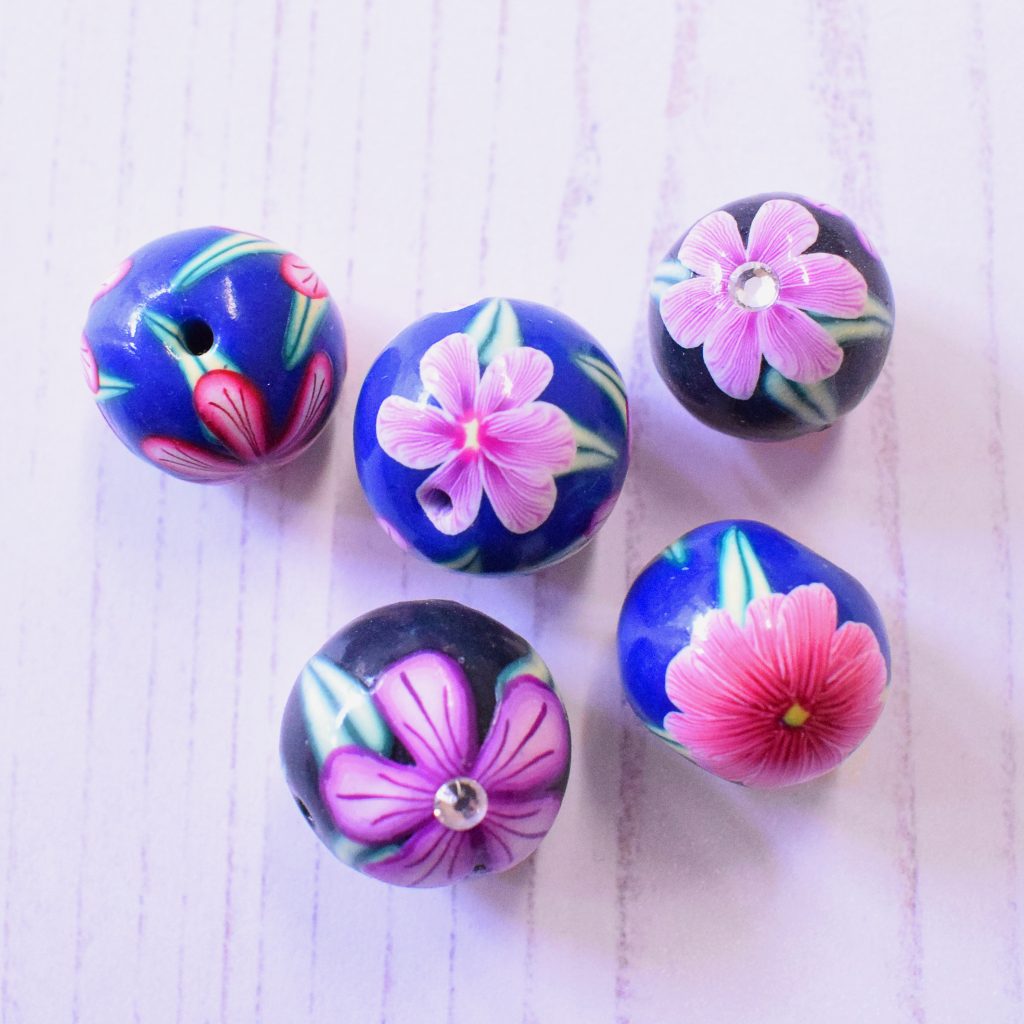
I’m so excited to create more with polymer clay soon! I’m really looking forward to having a go at making beads, blends and experimenting further with canes (like the one below)- wish me luck! 😛
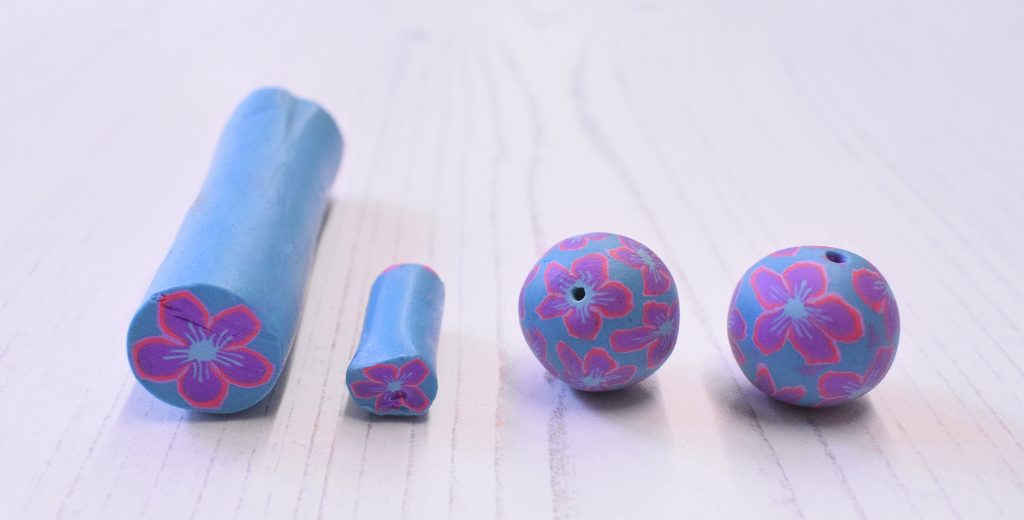
I wrote a blog post over on my personal blog straight after my first experience using polymer clay. It’s full of top tips from my first time using polymer clay, I have definitely learnt a lot since, however I’ve shared the link below if you’d like to read more!
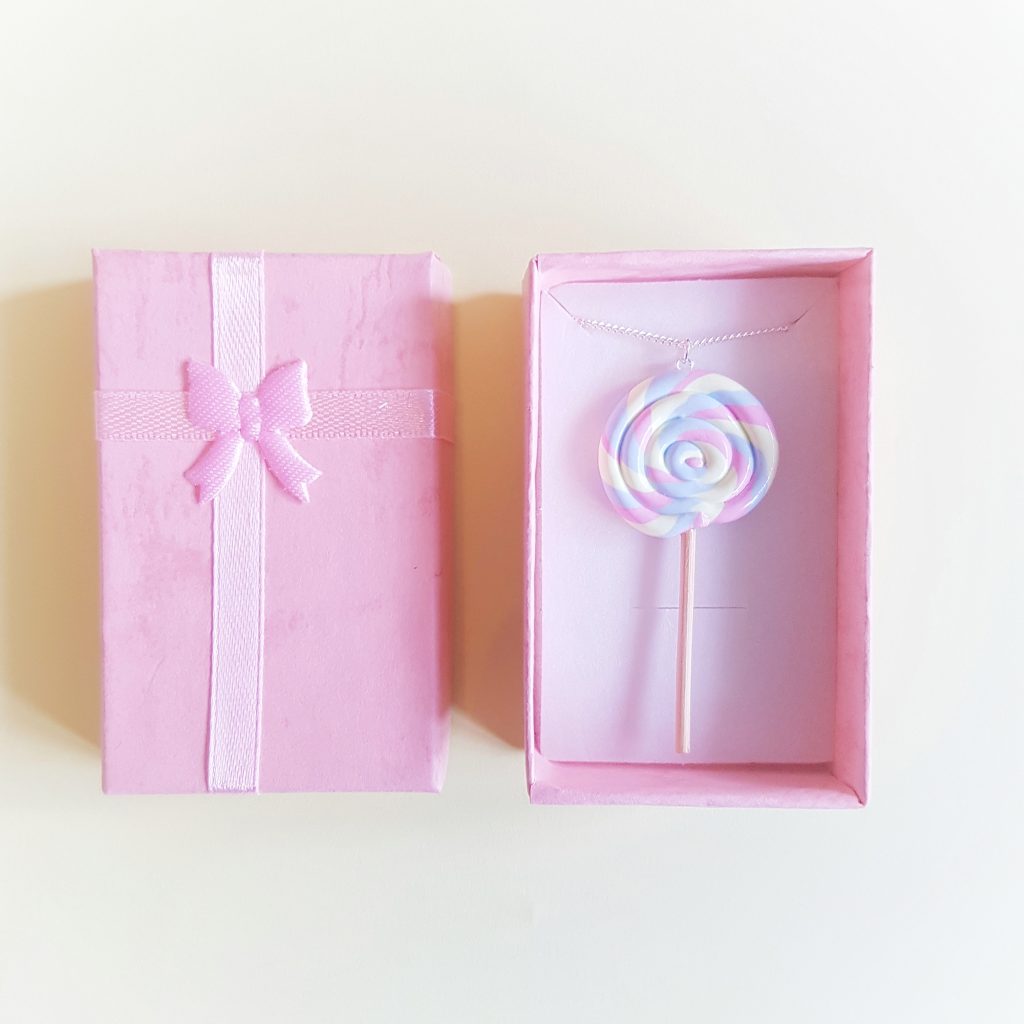
You can also find some of my creations in my Etsy shop As If By Magic Creations.
Thanks for reading
Eloise

