This is a reworking of a blog I originally wrote in 2010 on how to make a dichroic glass pendant using a microwave kiln. It has been updated to add everything I have learnt about fusing glass over the last 14 years. Using both a microwave and electric kiln. I initially wrote this whilst testing out a FuseworksTM microwave kiln for the first time. I hoped that it would produce good enough results for us to both stock it and teach workshops using it. Unfortunately that particular microwave kiln is no longer available to us. However others are available and we are sometimes contacted by customers who would like advice about using them. Hopefully this blog will be useful and also explain why we no longer sell them or use them in the fused glass jewellery and decoration workshops we teach.
A bit of background
Prior to 2010 I had been making fused glass pendants for over 3 years. But I had only ever worked with bullseye glass and a ‘proper’ kiln (a Paragon SC2) so it was very interesting to see how a microwave kiln compared.
I tested the Beginner’s Fusing Kit which included the microwave kiln, kiln paper, an assortment of glass, a glass cutter, hot mitts, bails & instructions. I was also intrigued to find out if the kiln worked the same with my usual Bullseye glass.
The kiln has to be pre-fired before it’s first use and then left to cool for 30 mins which gave me plenty of time to prepare pieces to fuse. My initial reaction on unpacking the kiln was wow that’s tiny (8.5 x 12cm). I wasn’t expecting it to be large but did expect it to be a lot closer to the size of the box than it was! The surface available to fuse on was a 7cm circle. But when you take into account a sensible gap the maximum piece you could make would be 5.5 x 3cm or 4.5 x 4.5cm I think. And probably only a maximum of two small pieces at once e.g earrings.
The glass cutter provided is one of the ones that work dry (without cutting oil). I found this much harder to use than my usual cutter but this could just be a case of what you’re used to. Also the glass provided is fairly thick and can’t be broken by hand (at least not by me!).
Getting Started
So after the kiln paper and glass were cut and the piece assembled it was time to fire! My microwave was 800w so a 3-4 minute fuse time was recommended. This seemed strange to me as I was used to a programme which takes over 2 hours for the kiln to reach fusing temperature, ~800c, and 5 hours to complete the cycle. After 3 minutes I take a peek – the glass is hot but hasn’t fused yet so I try another minute. Amazingly after this the piece has fused. I now have to leave the lid on for at least 30 minutes to let it cool down slowly and anneal. This is vital for durability of the piece without proper annealing glass is liable to break (not necessarily straight away though it could happen many weeks or even months down the line).
Initial thoughts
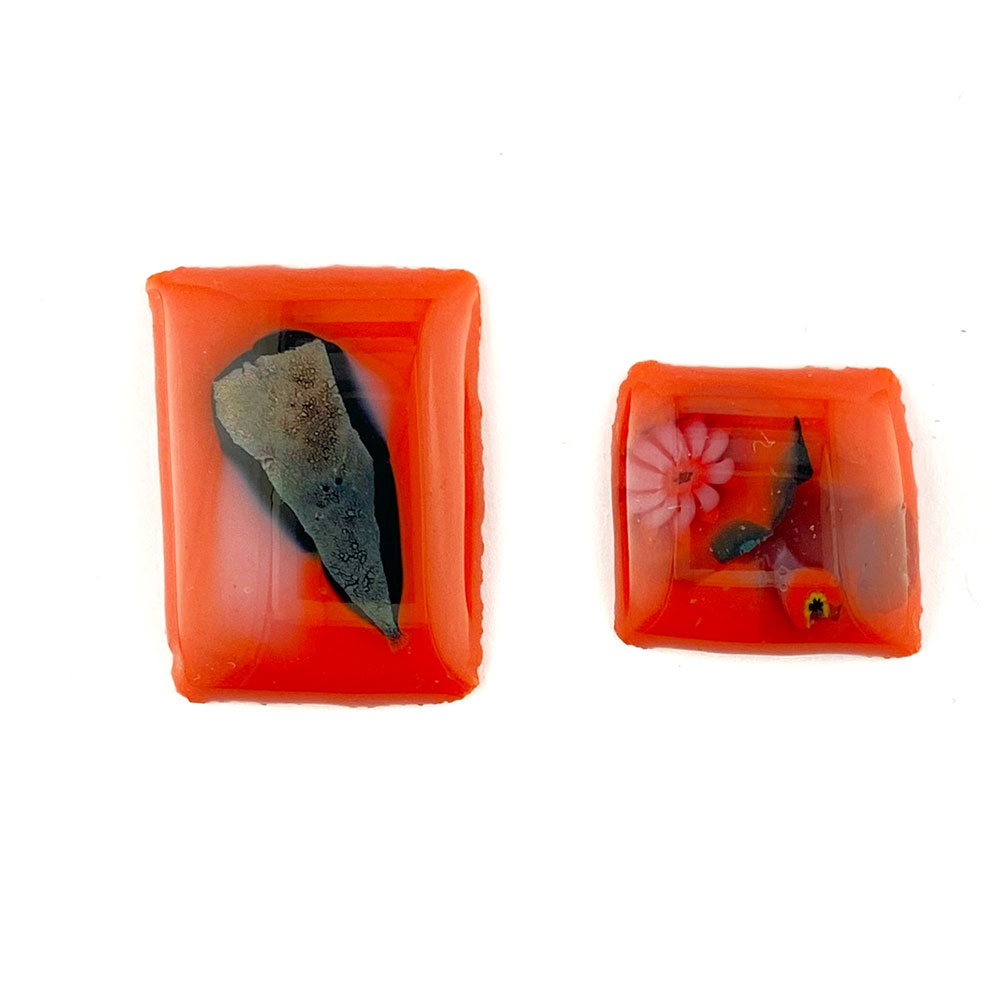
My first attempts were disappointing, with sharp burred edges. I know a bad workman blames his tools, but I can’t help feeling that it could be related to the kiln paper. It feels rough like fibre paper so I tried my next piece using Bullseye Thinfire paper. My hunch was right the Thinfire paper made all the difference to the edges! However as shown in the photo;
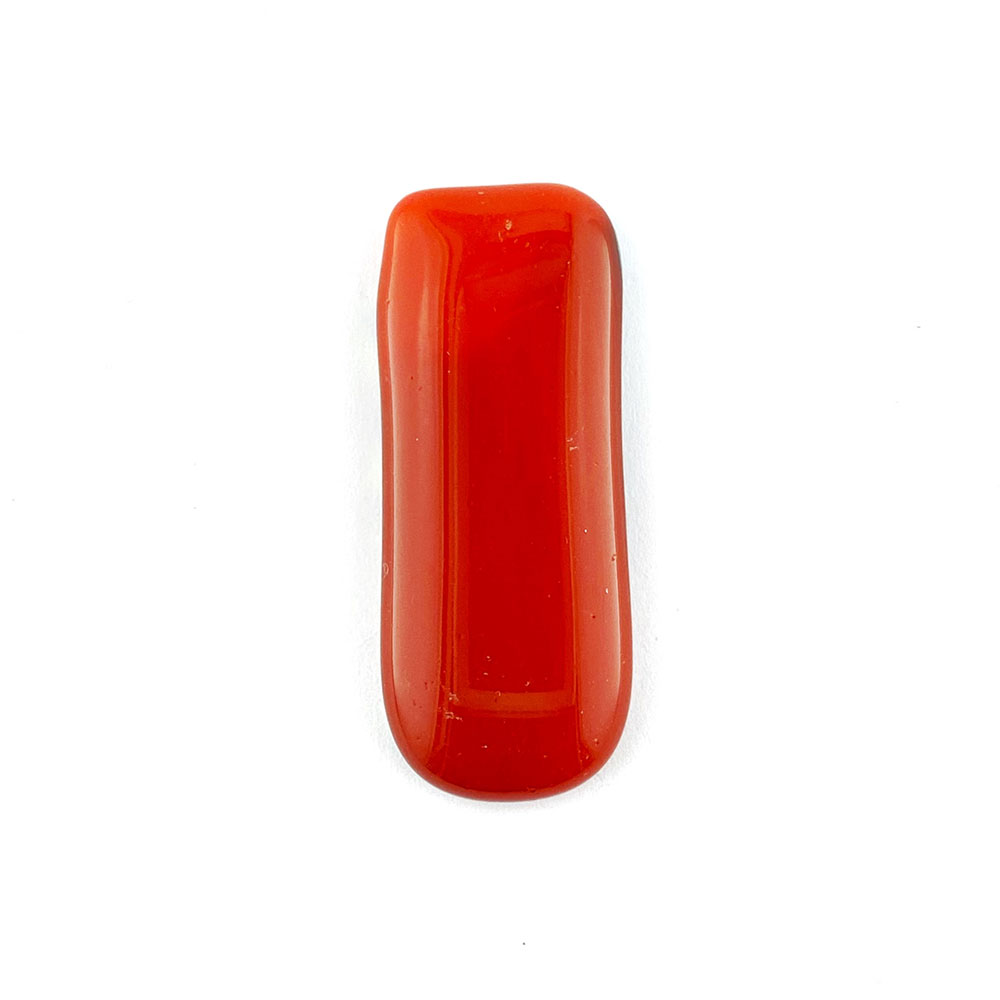
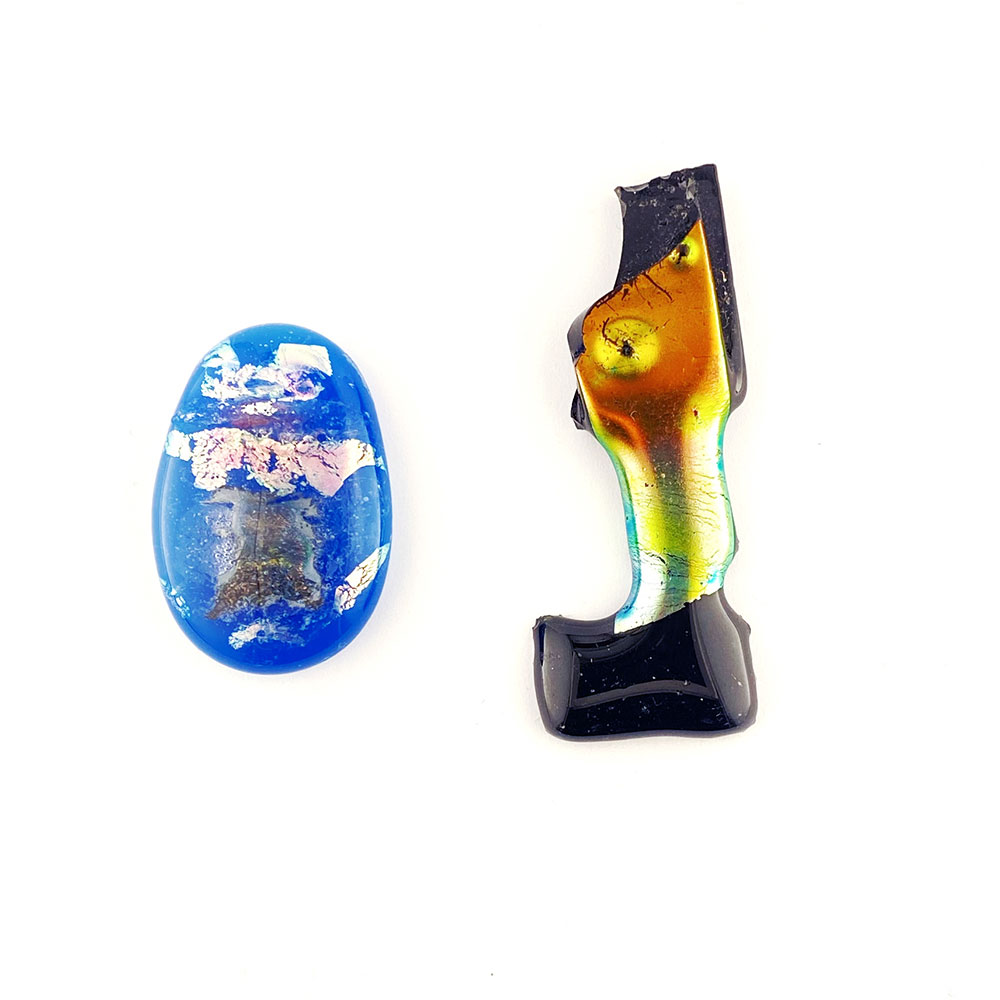
What I thought was a transparent red which I put dichroic glass underneath was a striking opaque – d’oh! Next I tried a channel pendant using a little glue to hold a rolled up tube of Thinfire paper in place. I quickly found out this could cause the glass to shatter in a microwave kiln as it heats up too quickly, which would explain these two sorry affairs!
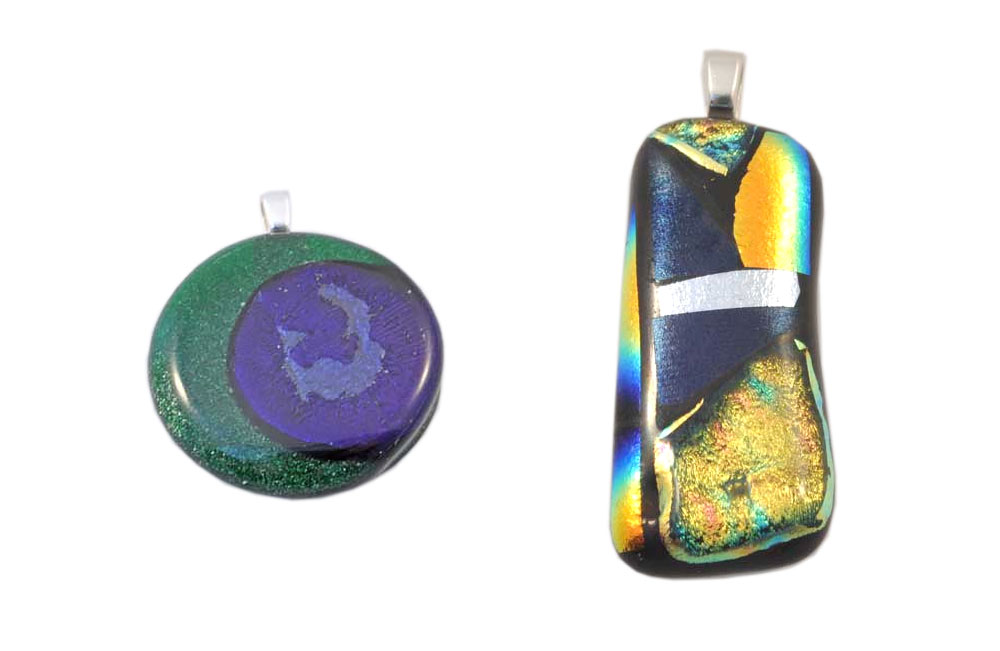
After these disappointing pieces I wanted to make some nicer examples. So I switched to using Bullseye glass and Thinfire paper in the microwave kiln. I combined smaller pieces of dichroic glass on a black glass base to create a patchwork affect fused glass pendant. I also tried a circle of clear glass on top of a smaller circle of dichroic glass on a green aventurine glass background. These pieces were far more successful.
In conclusion
Microwave kilns works but its very different to fusing in a kiln. Although it’s very quick, if you want to make more than 1 piece in an evening. It’s very slow (as you have to wait for it to cool down completely before using it again); so is only suitable for making pieces for yourself or as gifts etc. (Personally I’d be wary of selling pieces that weren’t kiln annealed anyway). It’s also very difficult to control the results. And improbable that you’ll be able to, if not impossible to achieve consistent pieces. However if you want to start fusing glass and your budget is nearer £100 than £600 then the microwave kiln could be for you.
Following on from this test I started to teach workshops using both the microwave kiln and The Bead Shops two electric kilns. I liked that the microwave kiln allowed each participant to take a finished pendant home with them but that they could also benefit from more consistent electric kiln pieces. Which could be collected a few days later. I did find the inconsistent results difficult particularly when someones piece failed for no obvious reason. Sometimes these cracked or slipped pieces could be rescued by fusing another layer of clear glass over the top but often they were a write off. We also had a couple of microwave kilns returned to us as they just didn’t work for no obvious reason. So at that point I switched to only using the electric kiln for teaching our glass fusing workshops.
Intrigued?
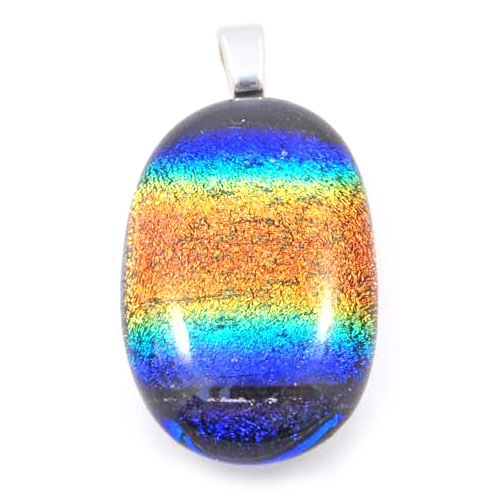
Hopefully my Microwave Kiln Review for Glass Fusing has whetted your appetite to learn more about glass fusing and dichroic glass. We run a regular programme of workshops where you can learn to make pendants, decorations or coasters. Or we can offer private tuition sessions at a time to suit you, please get in touch to chat to us about this.
-
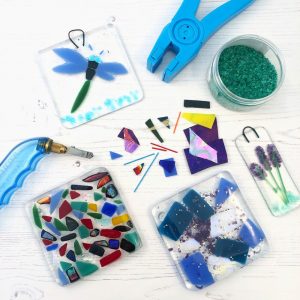 Fused Glass Coasters and HangingsRegular Price £35.00 incl.VAT
 -
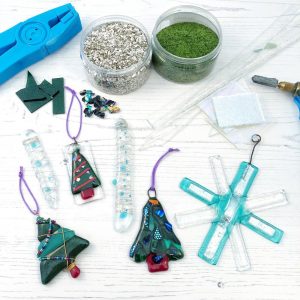 Fused Glass Festive Decorations
 -
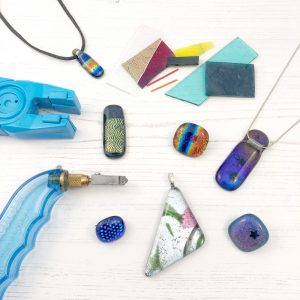 Dichroic Glass Jewellery WorkshopRegular Price £50.00 incl.VAT
We know that not everyone has the space or budget to purchase an electric kiln so we hire out space in ours. For £20 you can fuse a whole 330mm x 355mm kiln shelf of pieces. We often fit in 9 fused glass coasters onto one shelf for firing during our workshop so it’s great value. If you can’t bring your pieces in in person, you can also package them up safely and post them to us for firing. Then we return them to you by Royal Mail Special Delivery for £35.
Hana -x-